You are NOT going to believe how easy these high protein bagels with Greek yogurt are!
The first time I made them, I literally stood in my kitchen staring at them thinking, "Where have you been all my life?!"
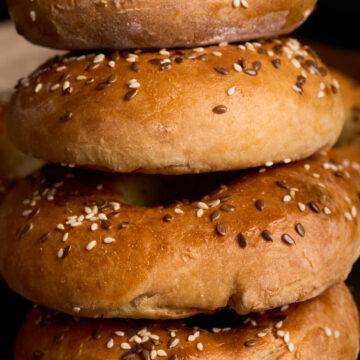
With just Greek yogurt and 2 basic ingredients, you will make the most amazing high protein & crusty bagels that will change your breakfast forever.
My fitness-obsessed husband was skeptical ("Bagels? On a workout day?") until I told him each one packs a serious protein punch, 13g to be precise.
Now he asks for them before every long run!
And my carb-loving kids?
They have NO IDEA these are healthier than store bought.
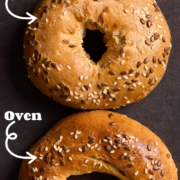
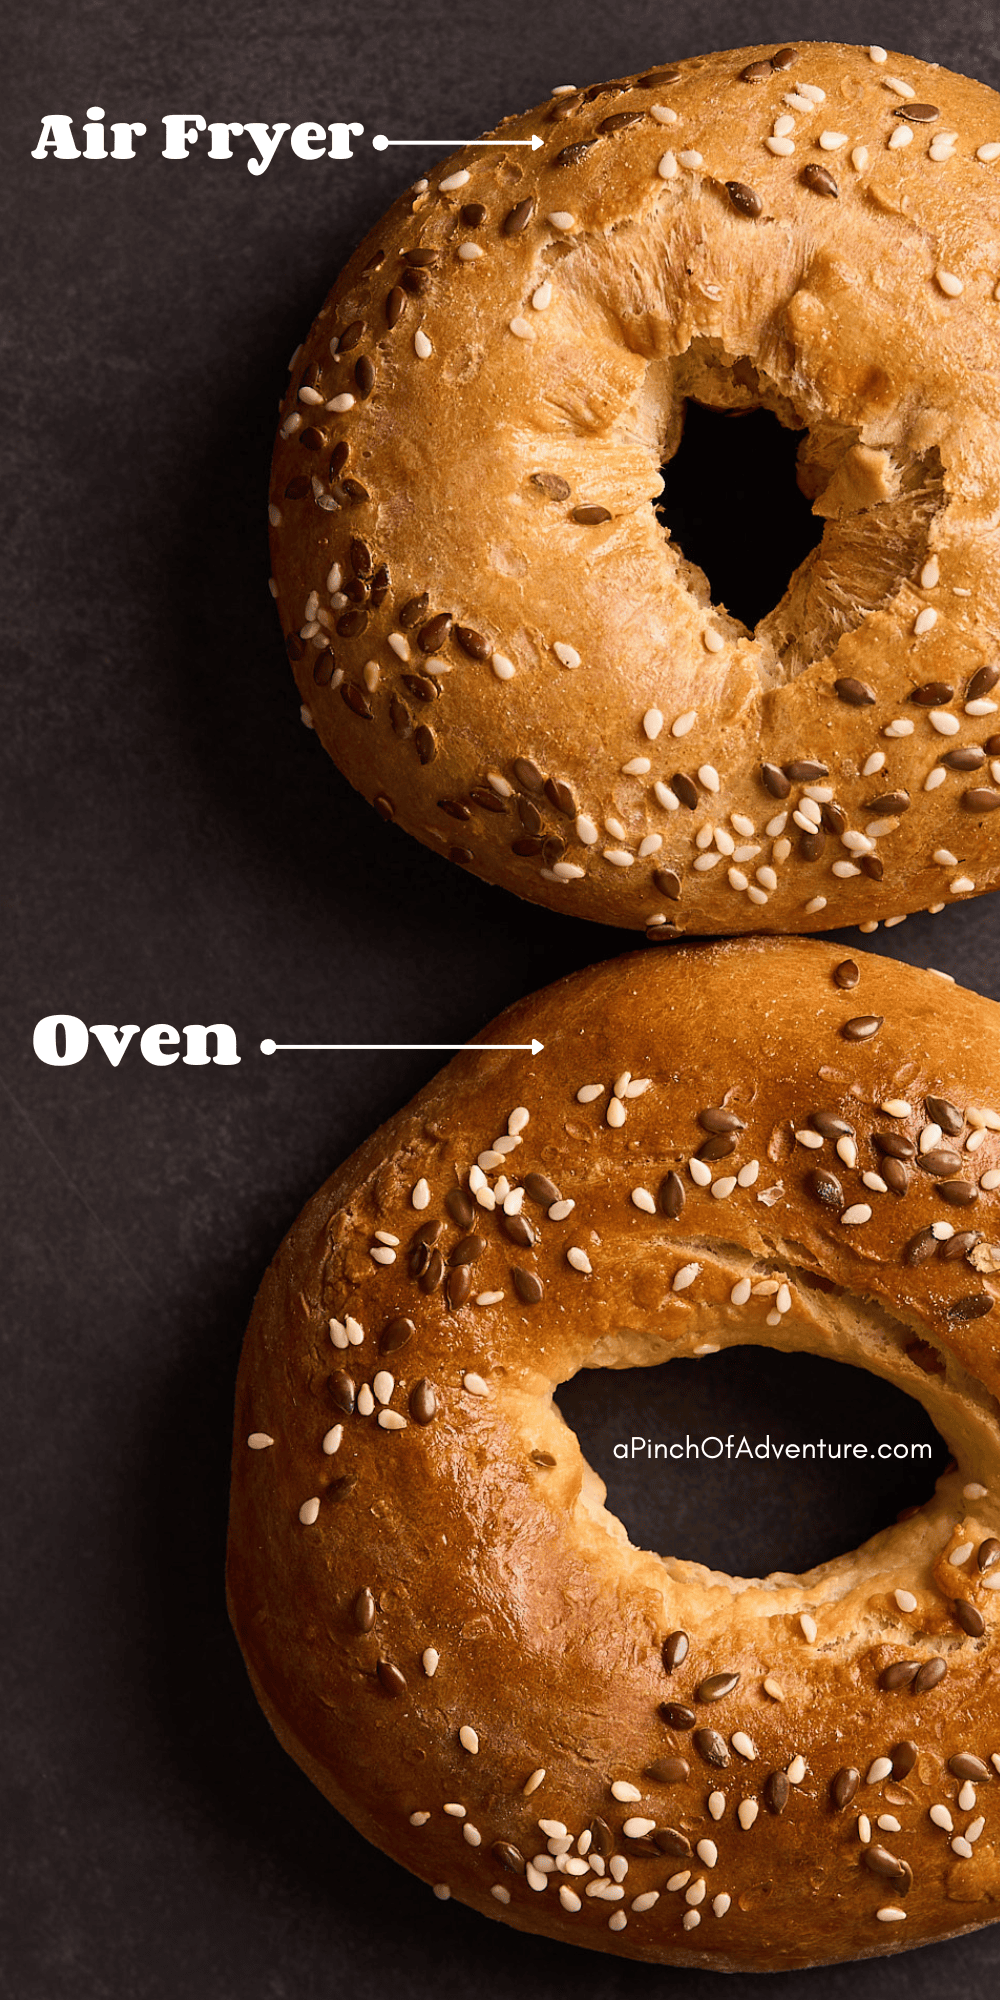
In this post I will show you how to make these high protein bagels with Greek yogurt in the oven and air fryer as well!
Jump to:
Why You Will Love These High Protein Greek Yogurt Bagels
When I think of bagel shop favorites, I think of those dense, chewy rings of goodness with all the toppings. But traditional bagels require yeast, rising time, boiling, and approximately 17 hours.
Not this recipe though.
For this recipe, you don’t have to spend all morning in the kitchen.
All you need is 10 minutes of prep, 20 minutes in the oven, and 5 minute patience before you can devour them.
Each bagel packs about 13 grams of protein, which keeps you full WAY longer than regular bagels.
I've been eating one with some eggs for breakfast and unlike traditional bagels that leave me hungry again by 10 AM, these high protein, Greek yogurt bagels actually keep me full until lunch. (A miracle for this constant snacker!).
Ingredients
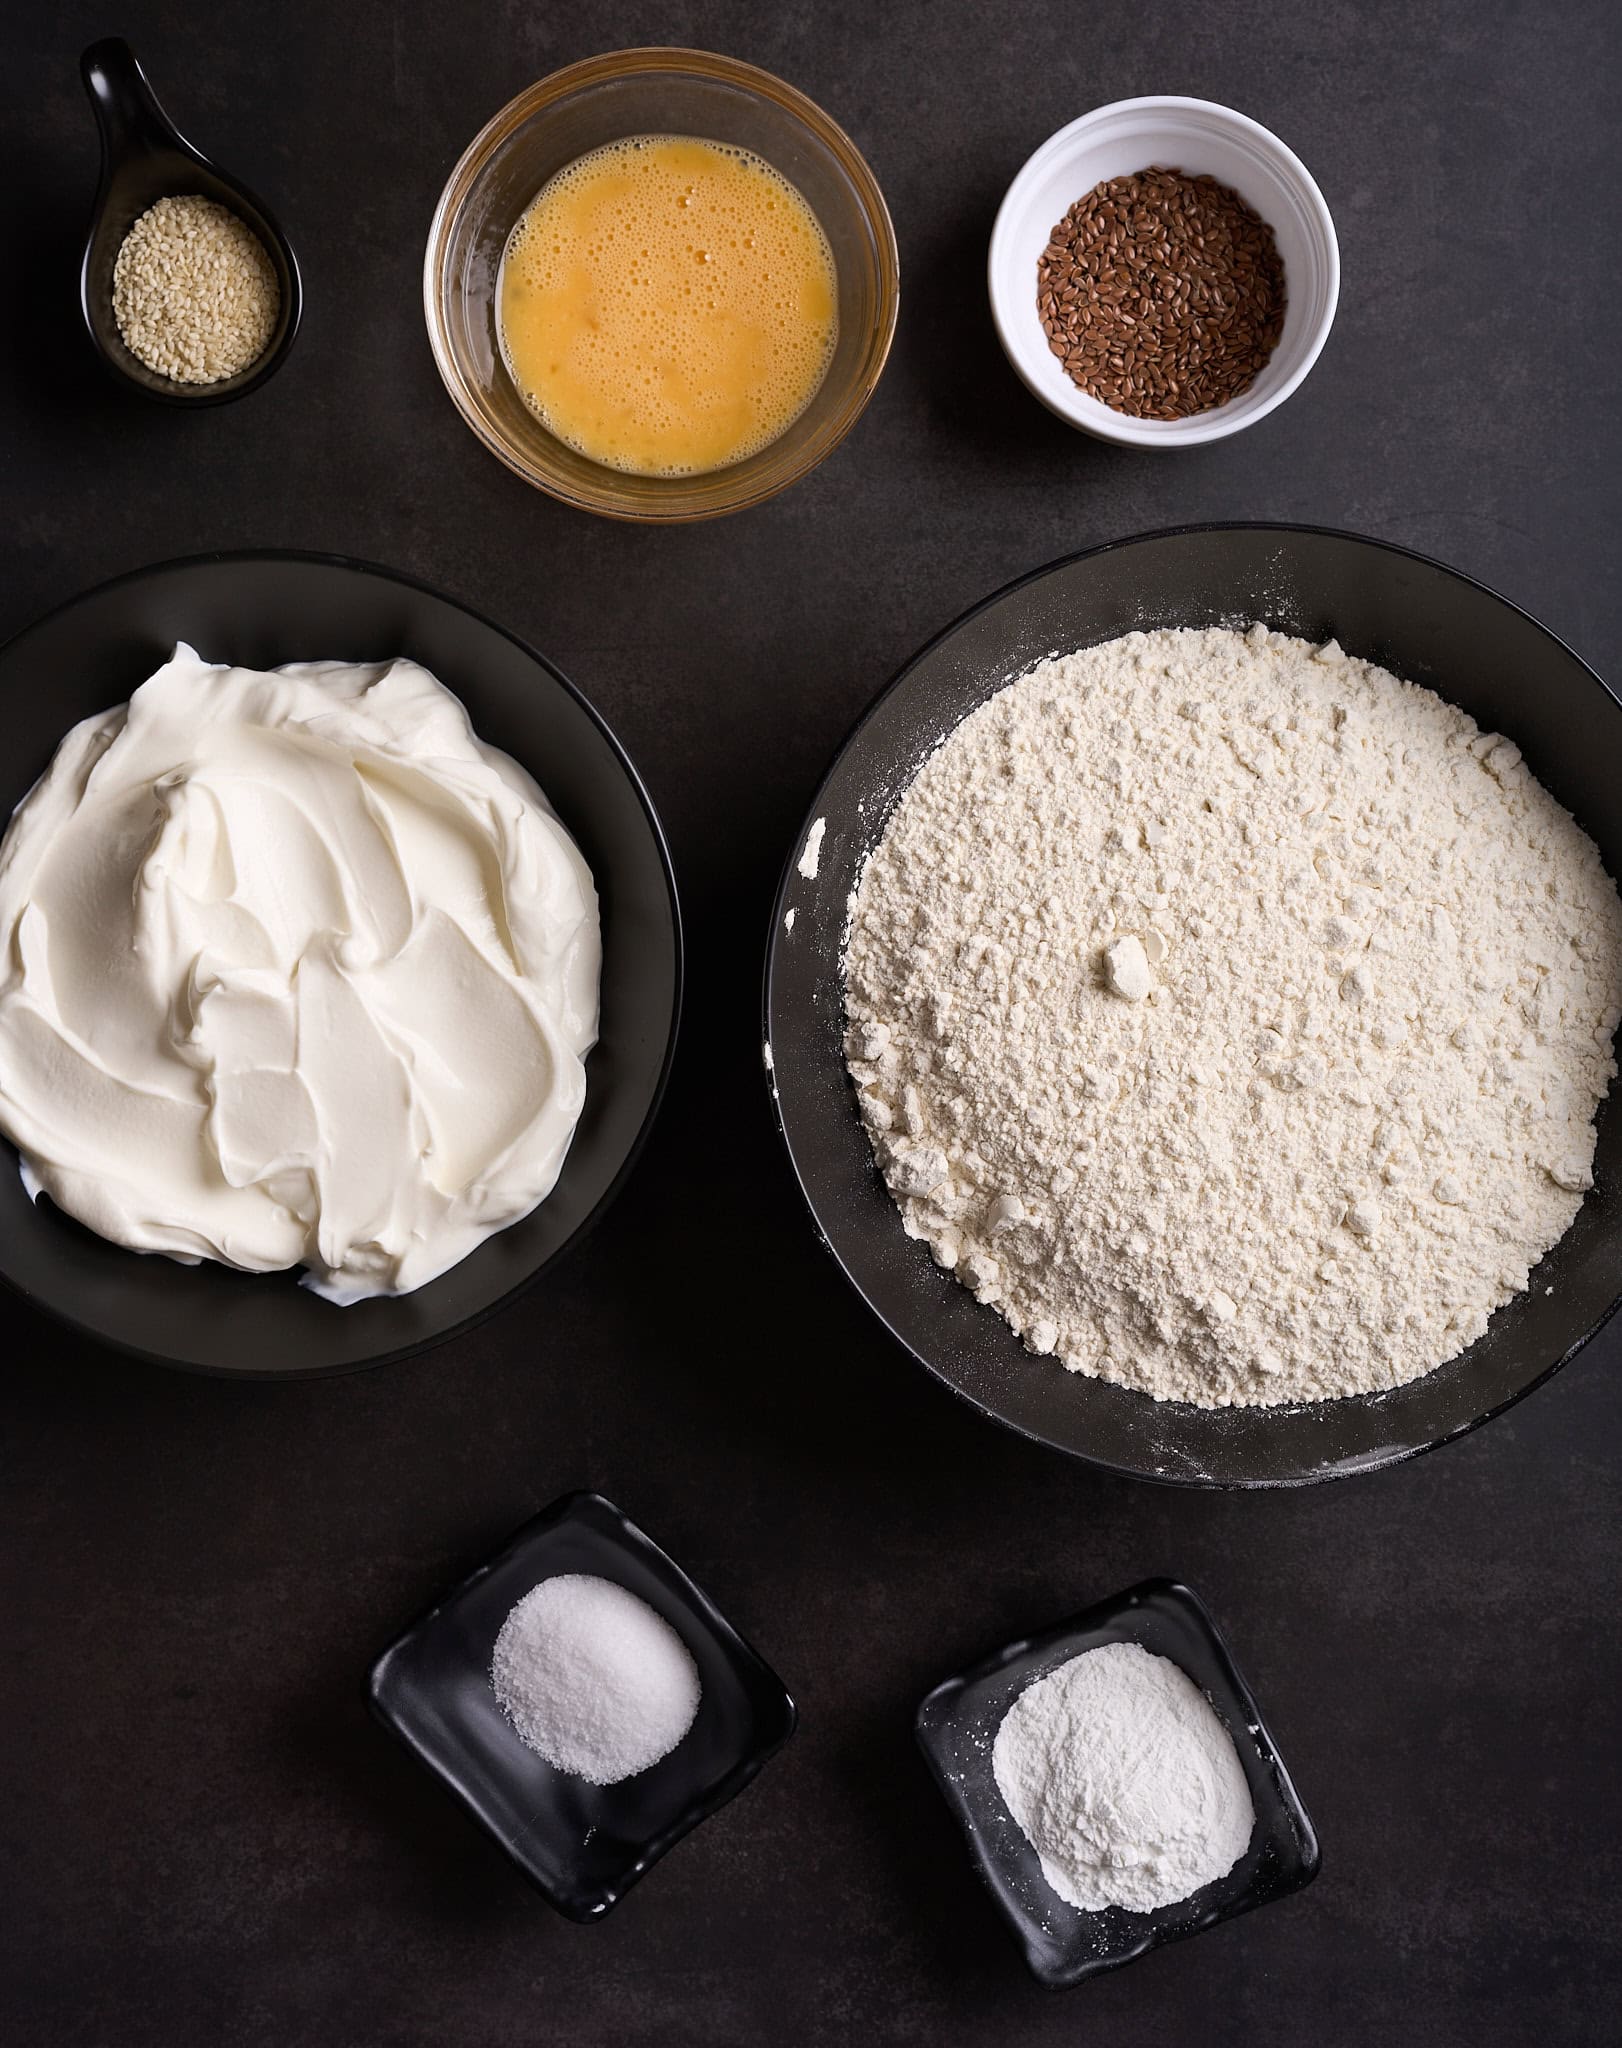
Greek Yogurt: You'll want to use plain, full-fat Greek yogurt for the best results.
The thick, creamy texture and tangy flavor create the perfect bagel base while adding a good amount of protein. (Make sure to drain off any excess liquid before measuring)
Self-Rising Flour: This flour already contains the perfect ratio of flour, baking powder, and salt, making our recipe even easier.
If you don't have self-rising flour, don't worry! I'll show you how to make your own with regular flour.
Egg: One egg for the egg wash to brush the bagels and get that golden brown crust we all love.
Toppings: Sesame seeds, poppy seeds, everything bagel seasoning. In this recipe I use sesame seeds and organic, brown flax seeds.
TIPS
- When mixing the dough, it'll seem too dry at first and you'll be tempted to add water – DON'T DO IT! Keep mixing and the yogurt will eventually incorporate completely. I've ruined more than one batch by jumping the gun and adding extra liquid!
- The hole will try to close up as you shape the bagel so make it bigger than you think you need! I aim for a hole the size of a ping pong ball, which ends up perfect after baking. Too small a hole and you'll end up with round bread instead of bagels!
- Want to take your bagels to the next level?
- Fold in shredded cheddar and jalapeños for a spicy version, or dried cranberries and orange zest for a sweeter twist.
- I've been keeping a running list of our family favorites in my phone notes – we're up to 12 variations!
- Chilling the dough overnight can deepen the flavor and improve the bagels’ structure.
- For best results, don't substitute the Greek yogurt with regular yogurt. The thickness is key to the proper dough consistency.
- Adjust baking time to your oven. Oven temperatures vary, so start checking for doneness around the 20-minute mark. They’re done when they turn golden brown and they sound slightly hollow if you tap the underside.
- Expect a different texture than traditional bagels. Because these don’t use yeast (and aren’t boiled), they won’t have the exact same chew as classic bagels. They’ll still be pleasantly dense and chewy, just in a simpler, faster way.
- With higher-fat yogurt, you may find the dough a little firmer or less sticky. You might need a splash of water if it becomes too stiff during kneading, whereas with non-fat yogurt you typically need more flour if it’s too sticky.
How to Make These Protein Bagels With Greek Yogurt
Step 1 - Preheat your oven to 375°F. Line a baking sheet with parchment paper.
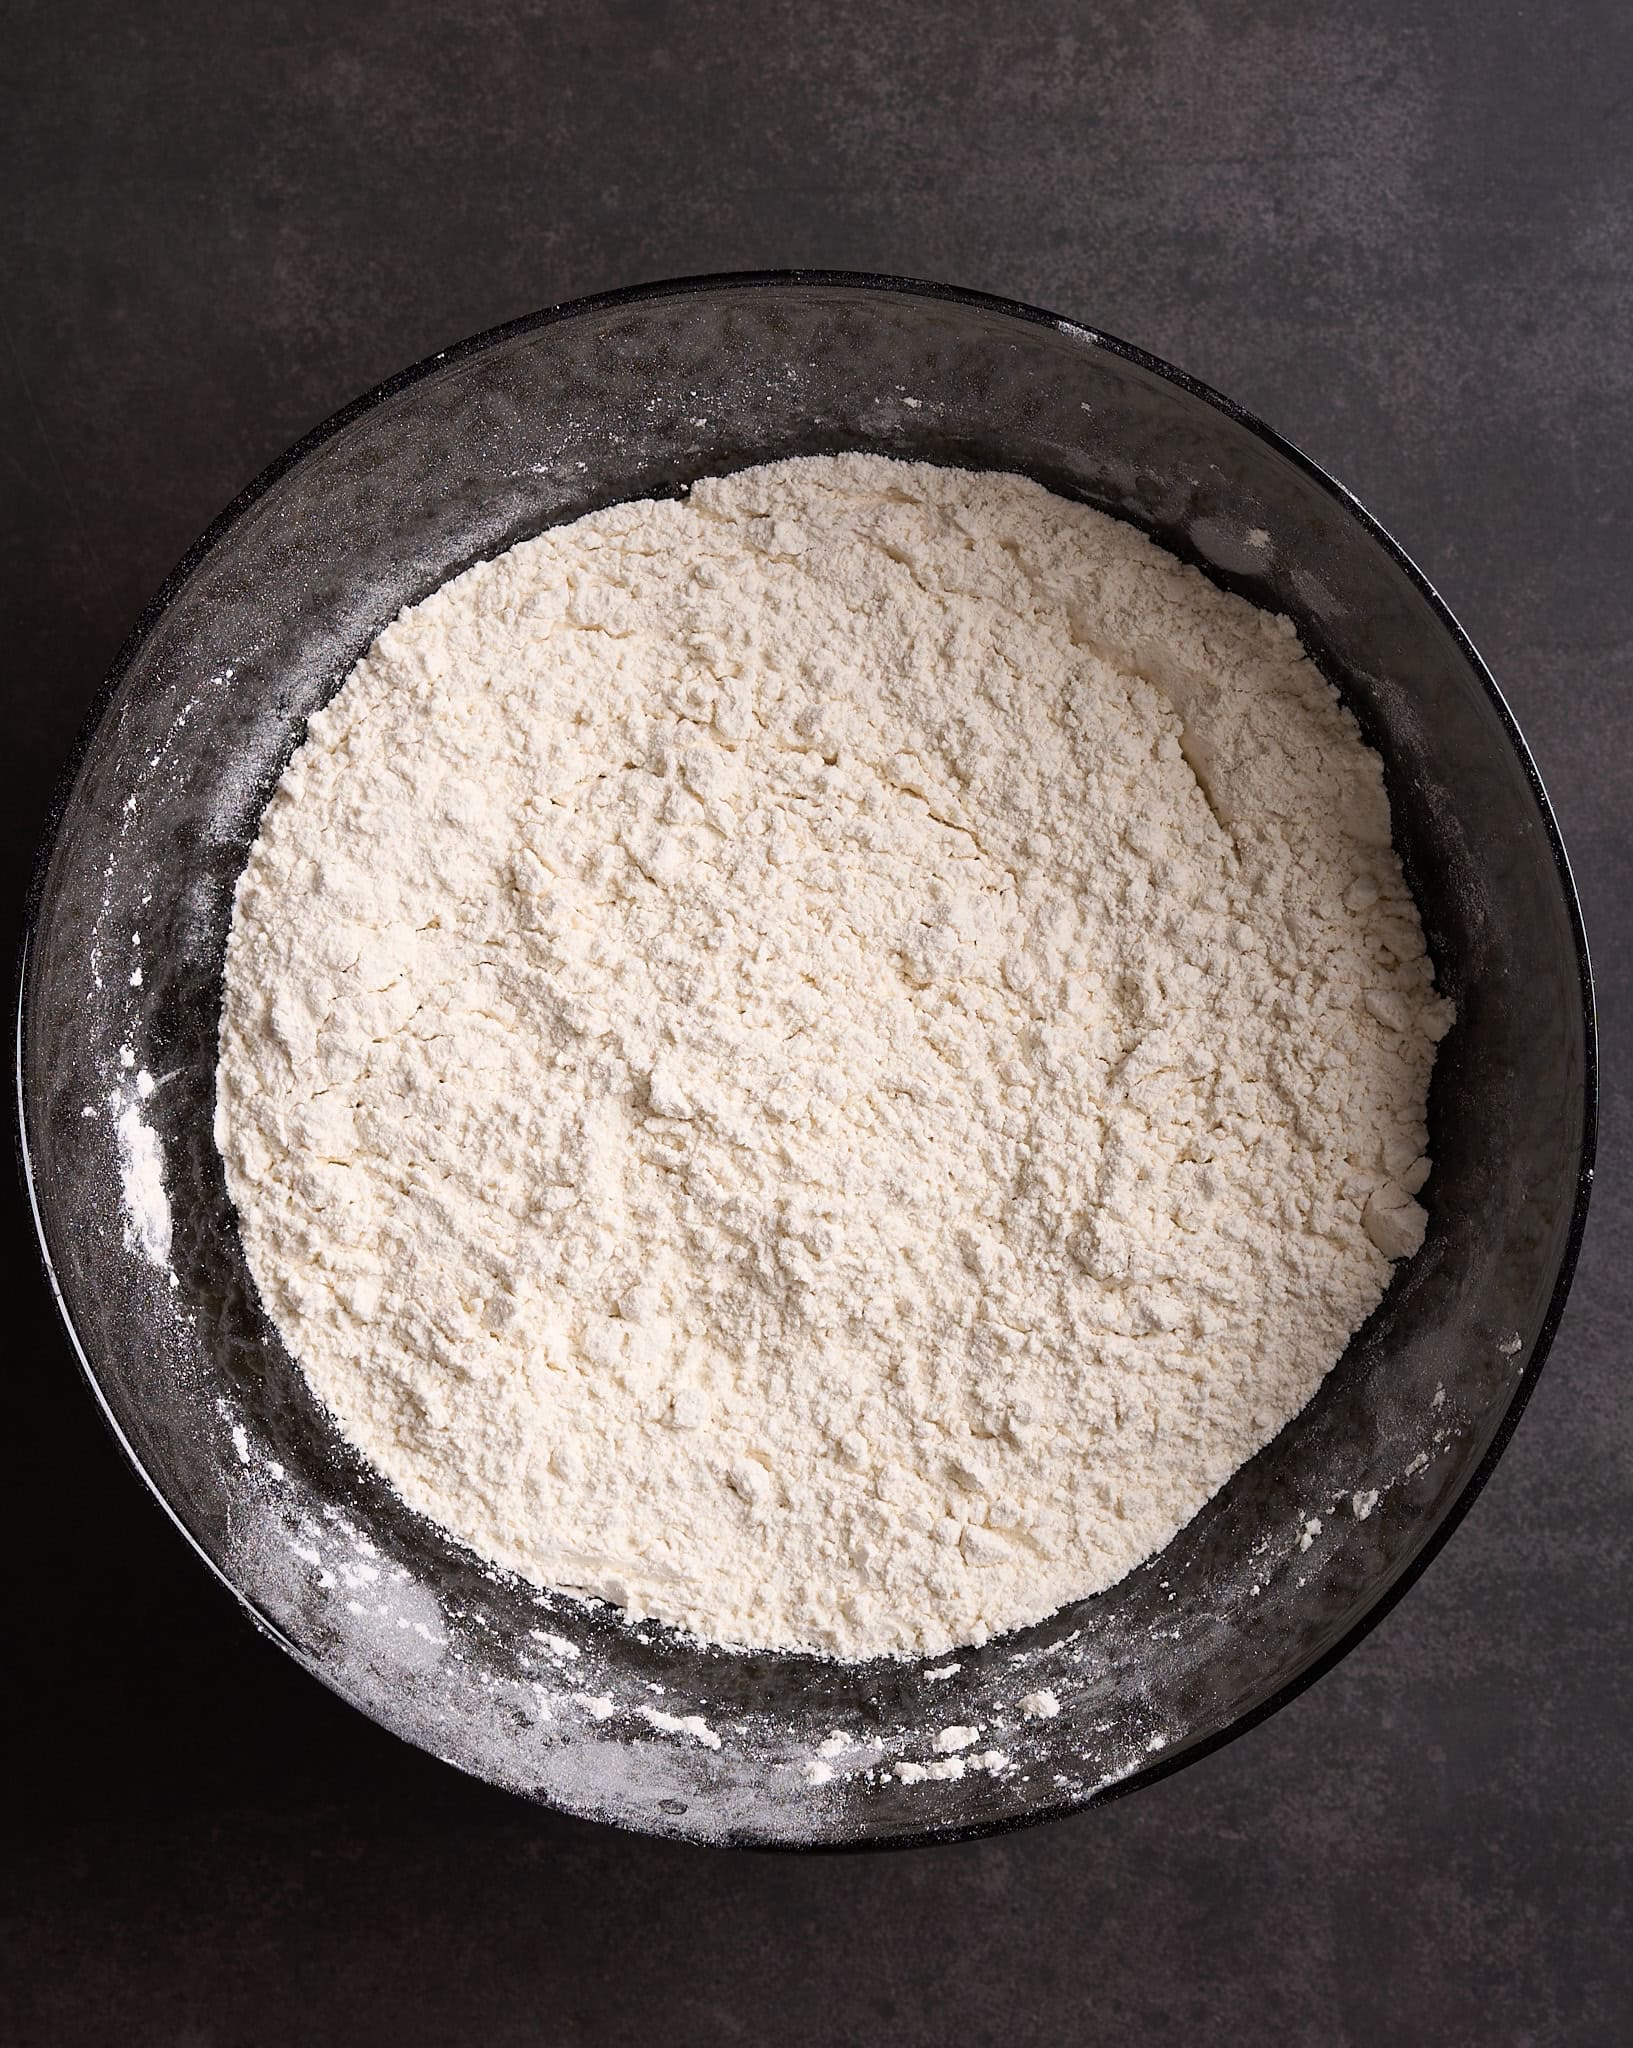
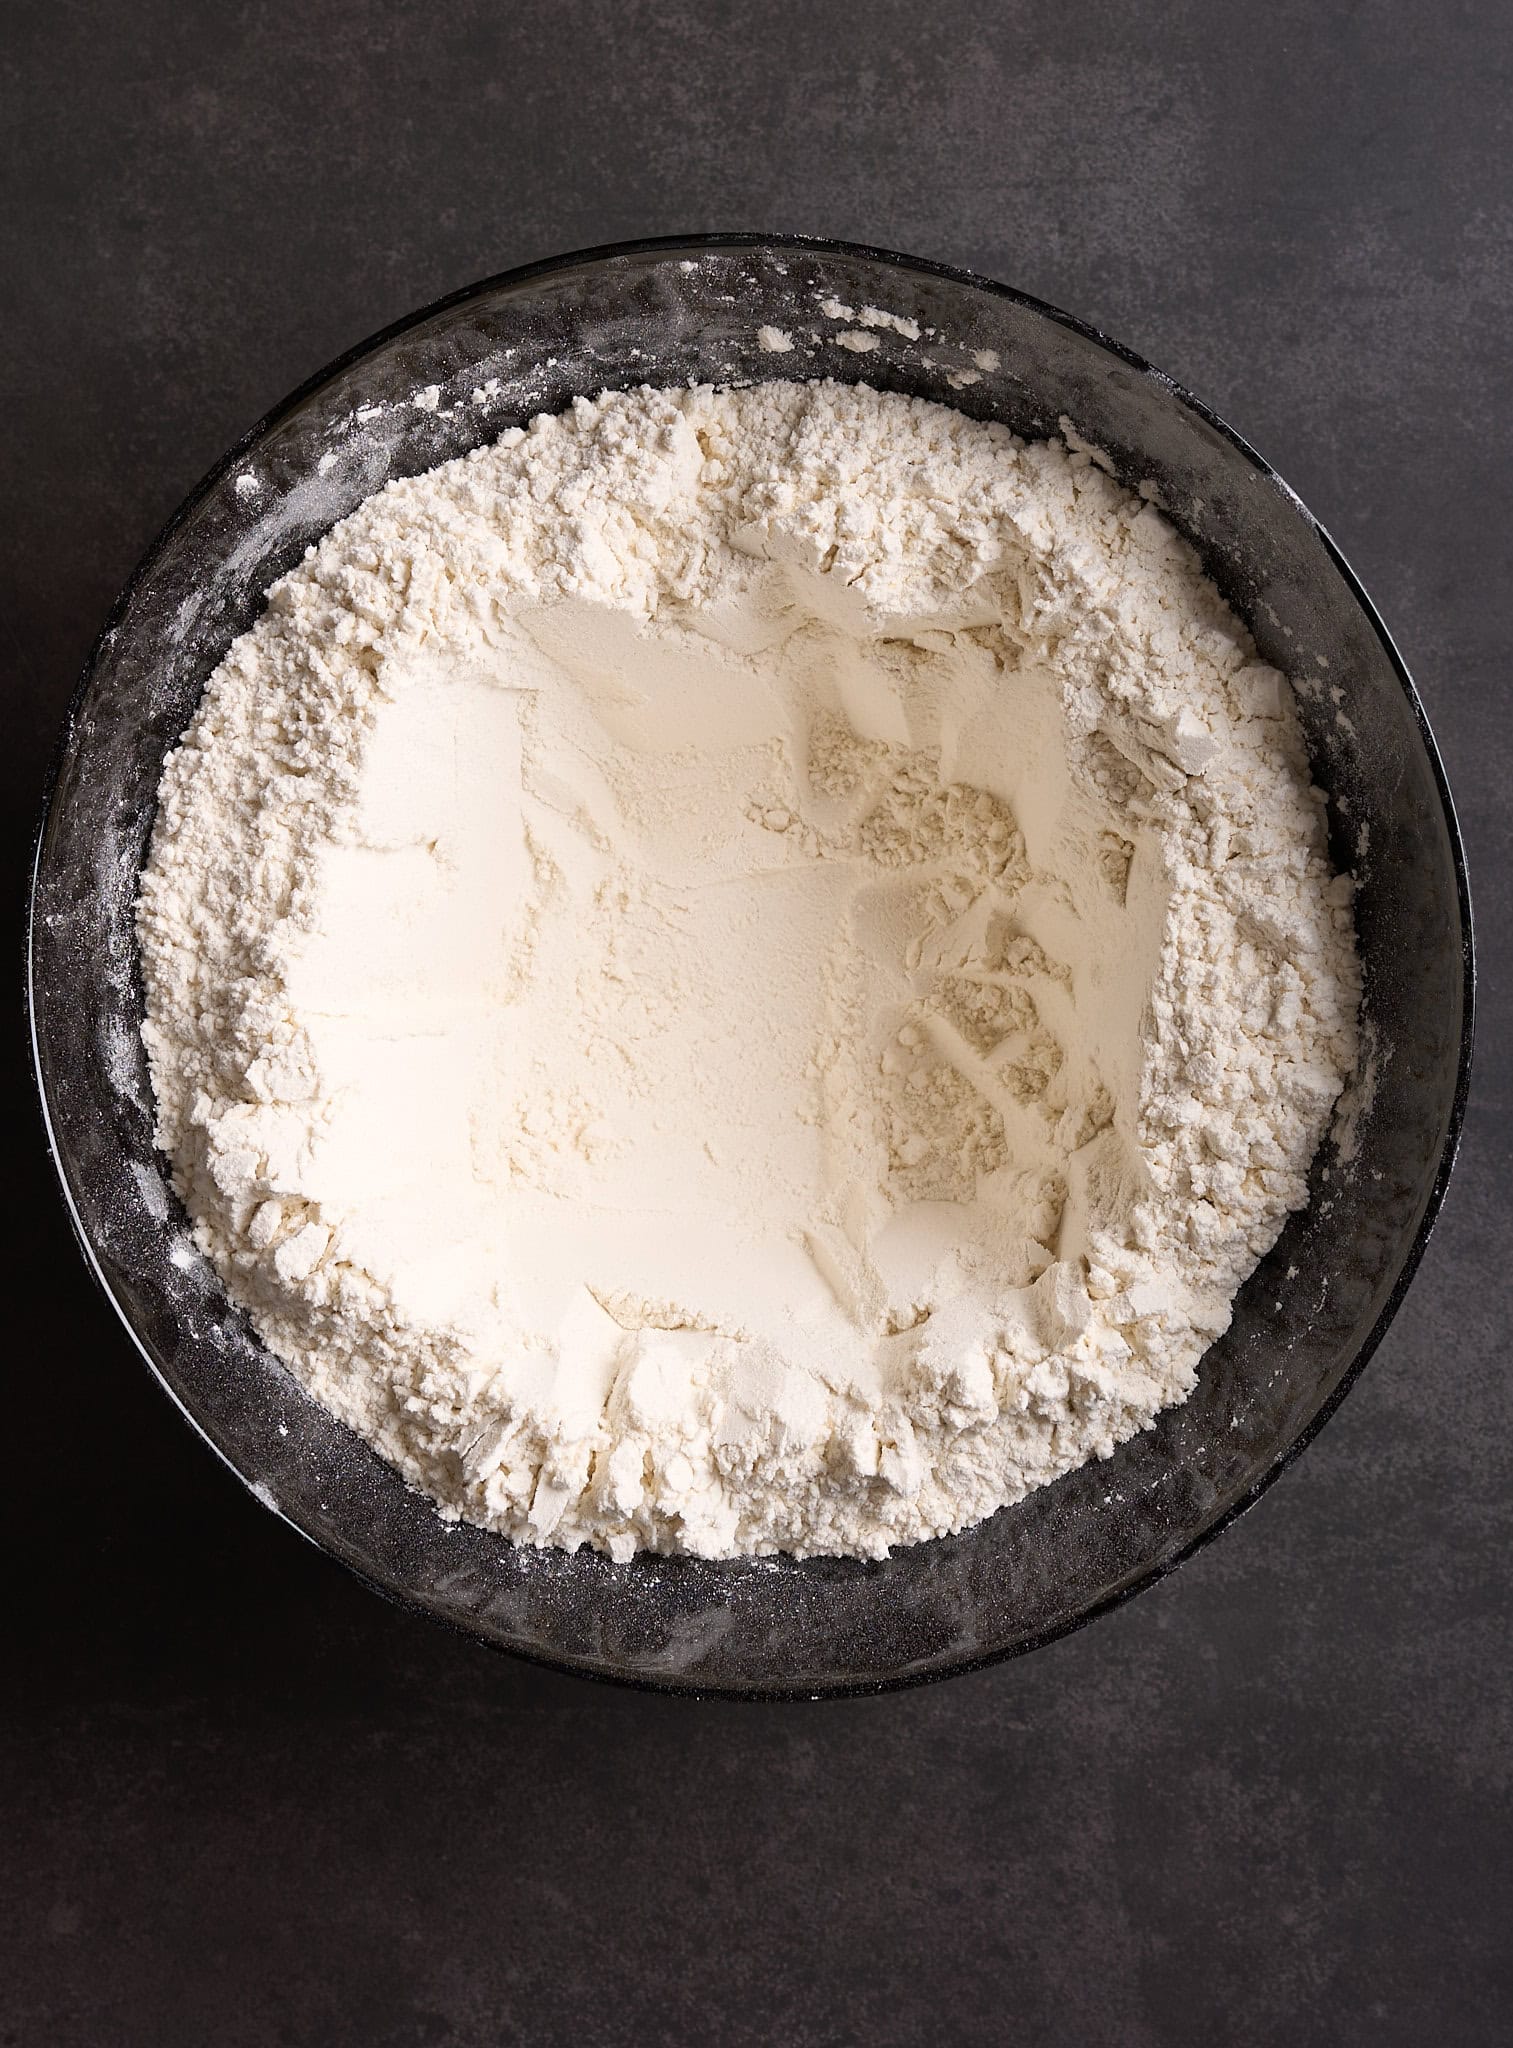
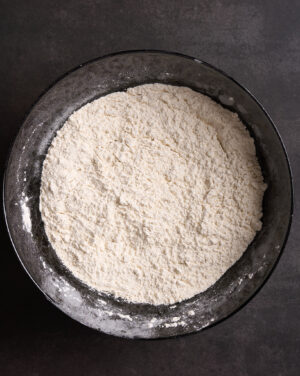
Step 2 - In a large bowl, add 4 cups of self rising flour.
If you don't have self rising flour, use 4 cups of all purpose flour plus 2 tablespoons of baking powder and 2 teaspoons of salt. Whisk them together.
Step 3 - Make a well in the center and add the Greek yogurt.
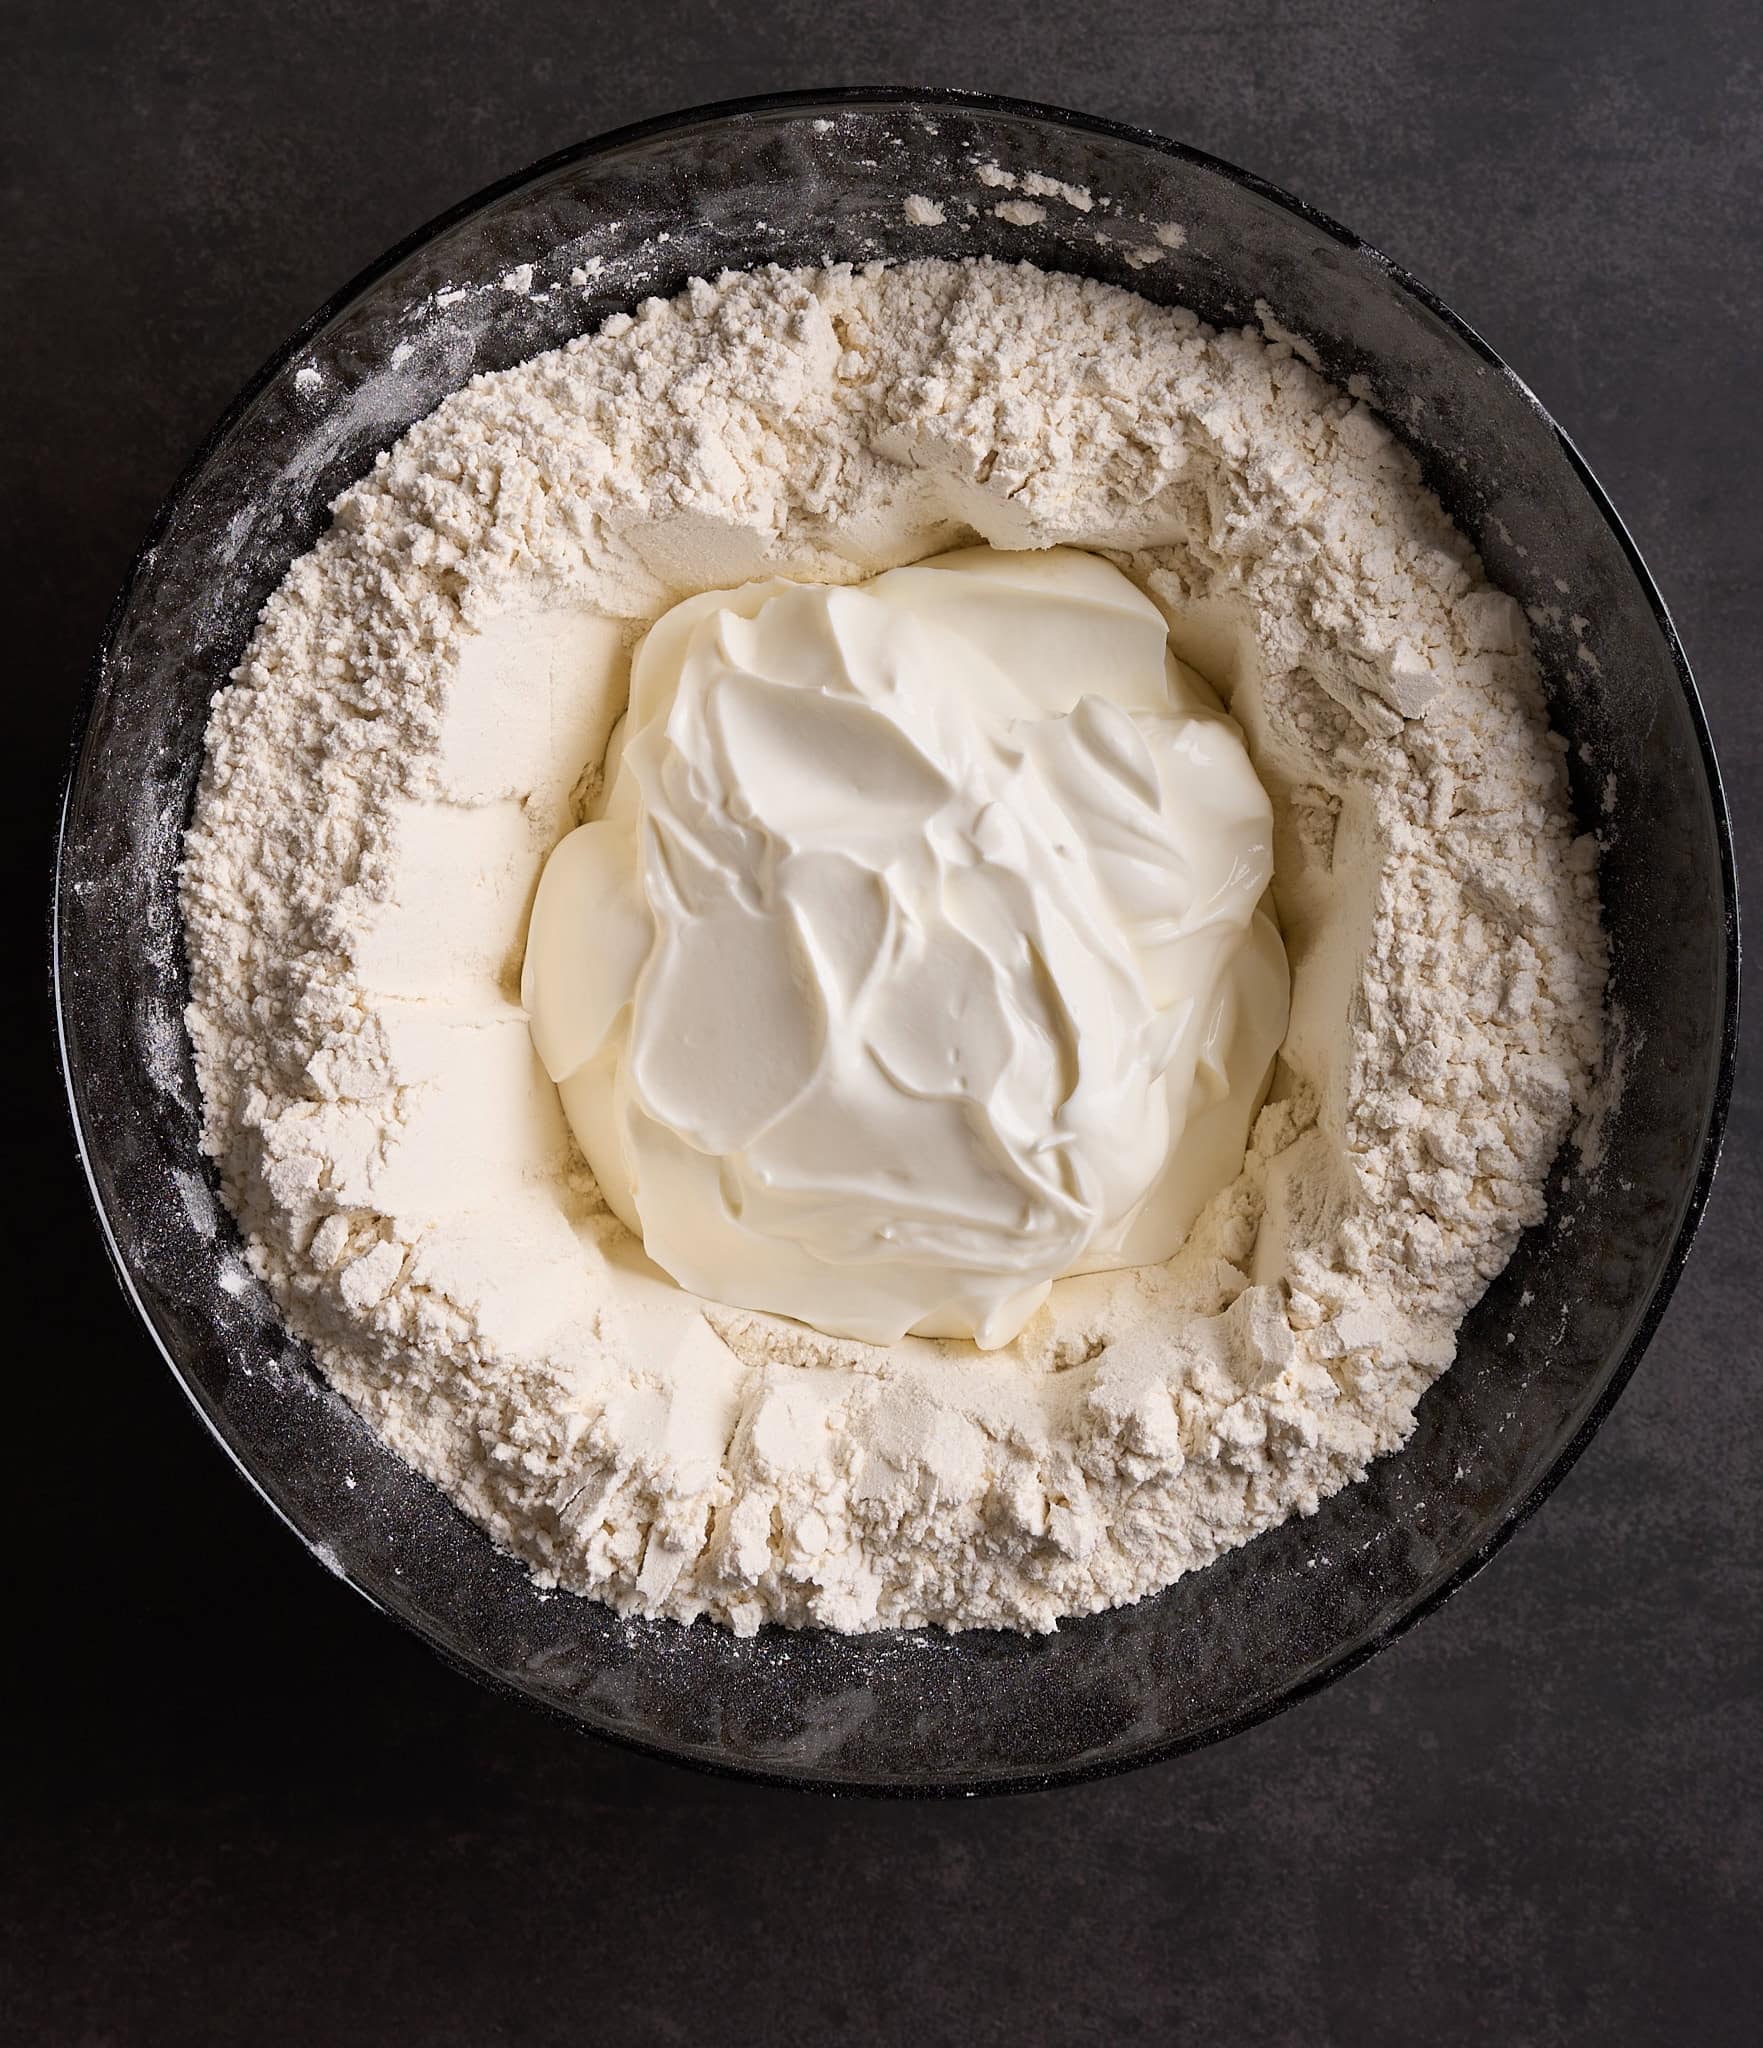
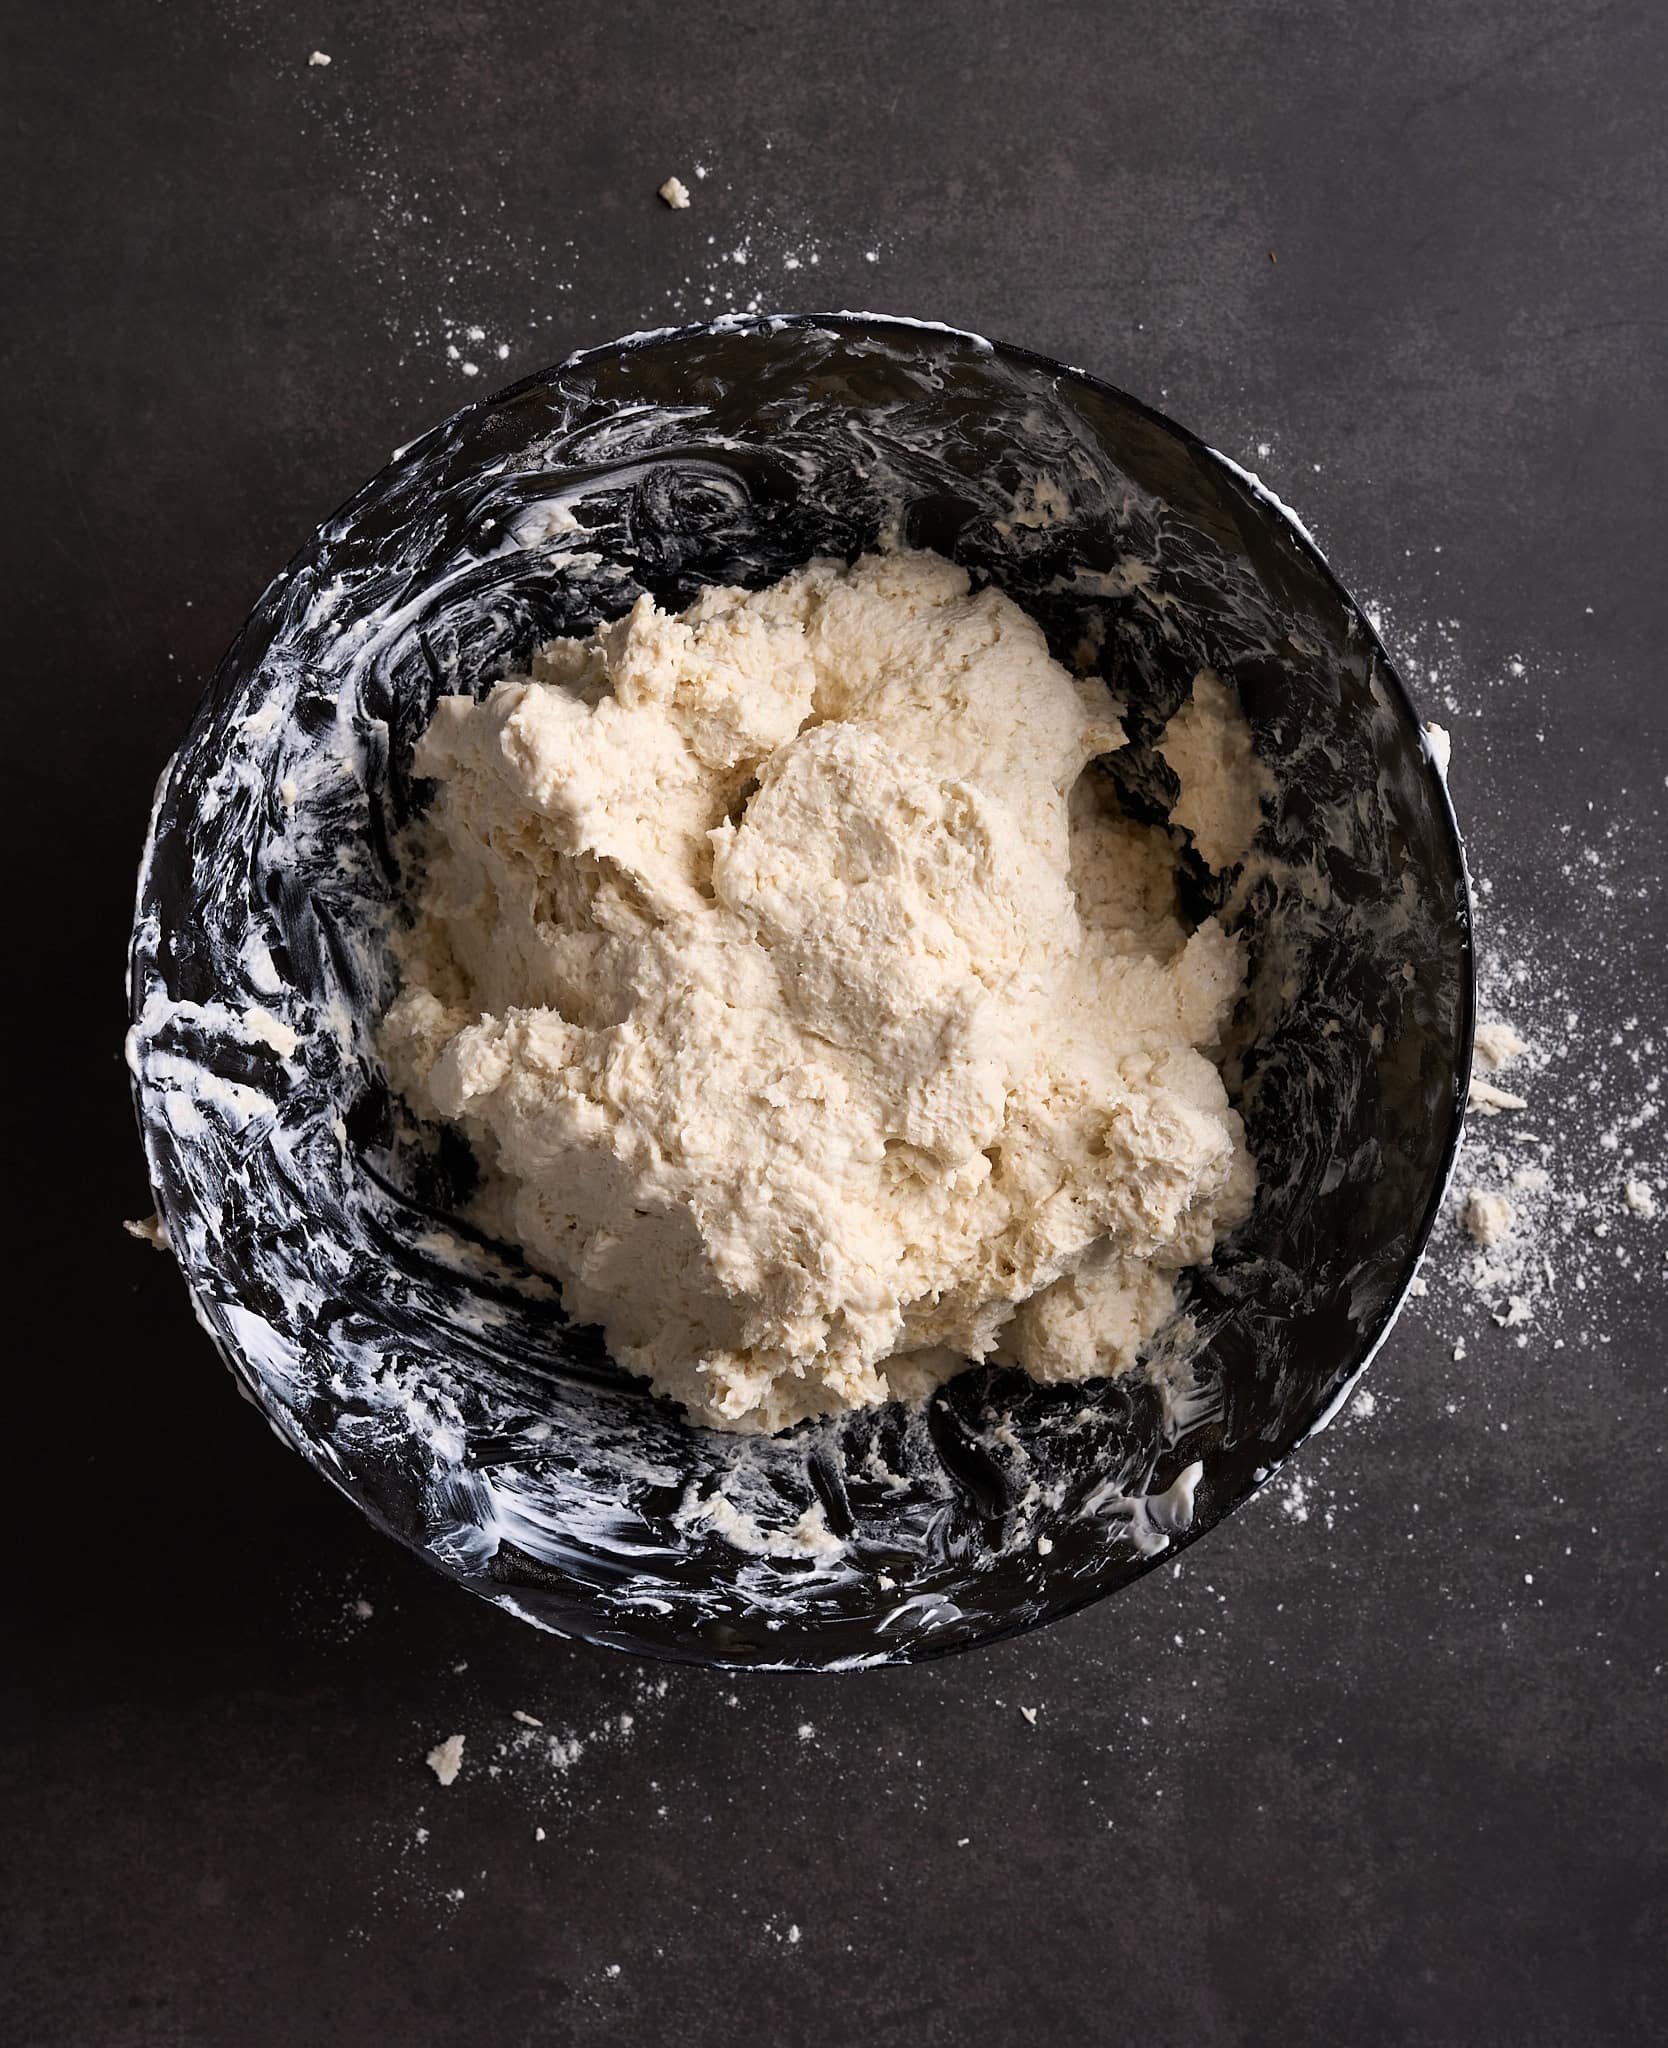
Mix until a shaggy dough forms.
The dough will look like a complete disaster at first, crumbly and uncooperative. Keep going!
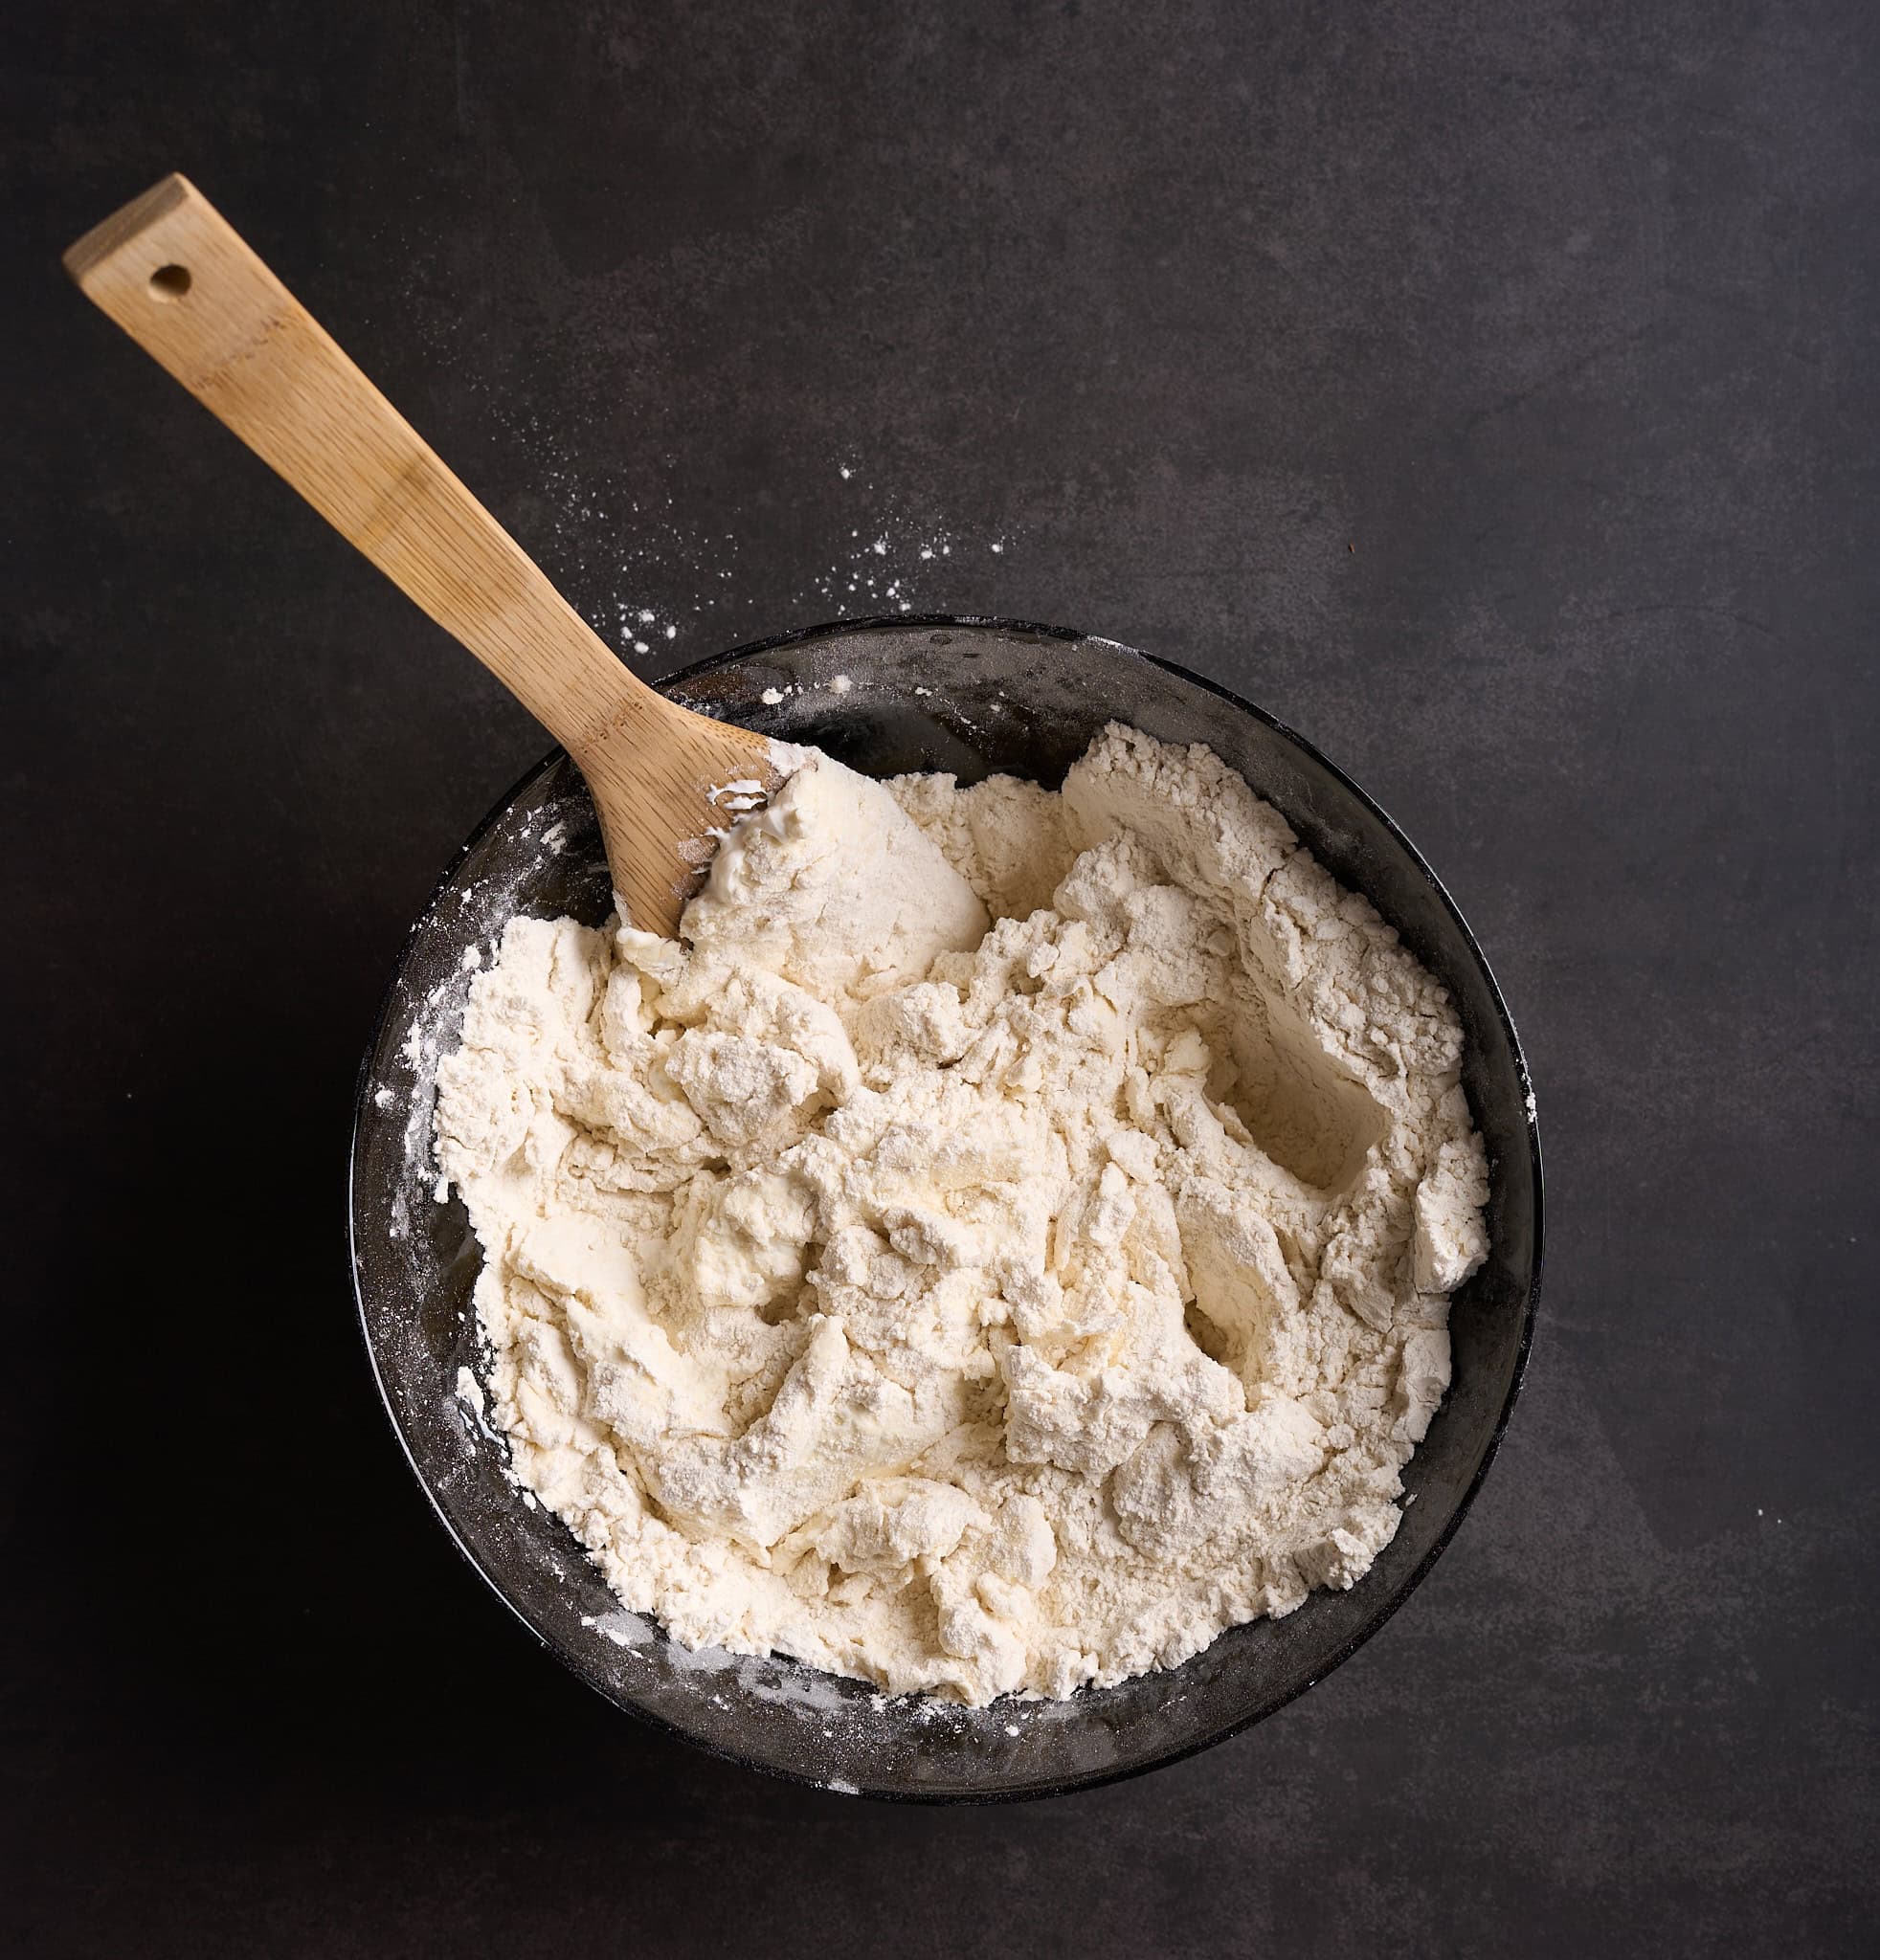
I use a fork initially and then switch to my hands when it starts coming together.
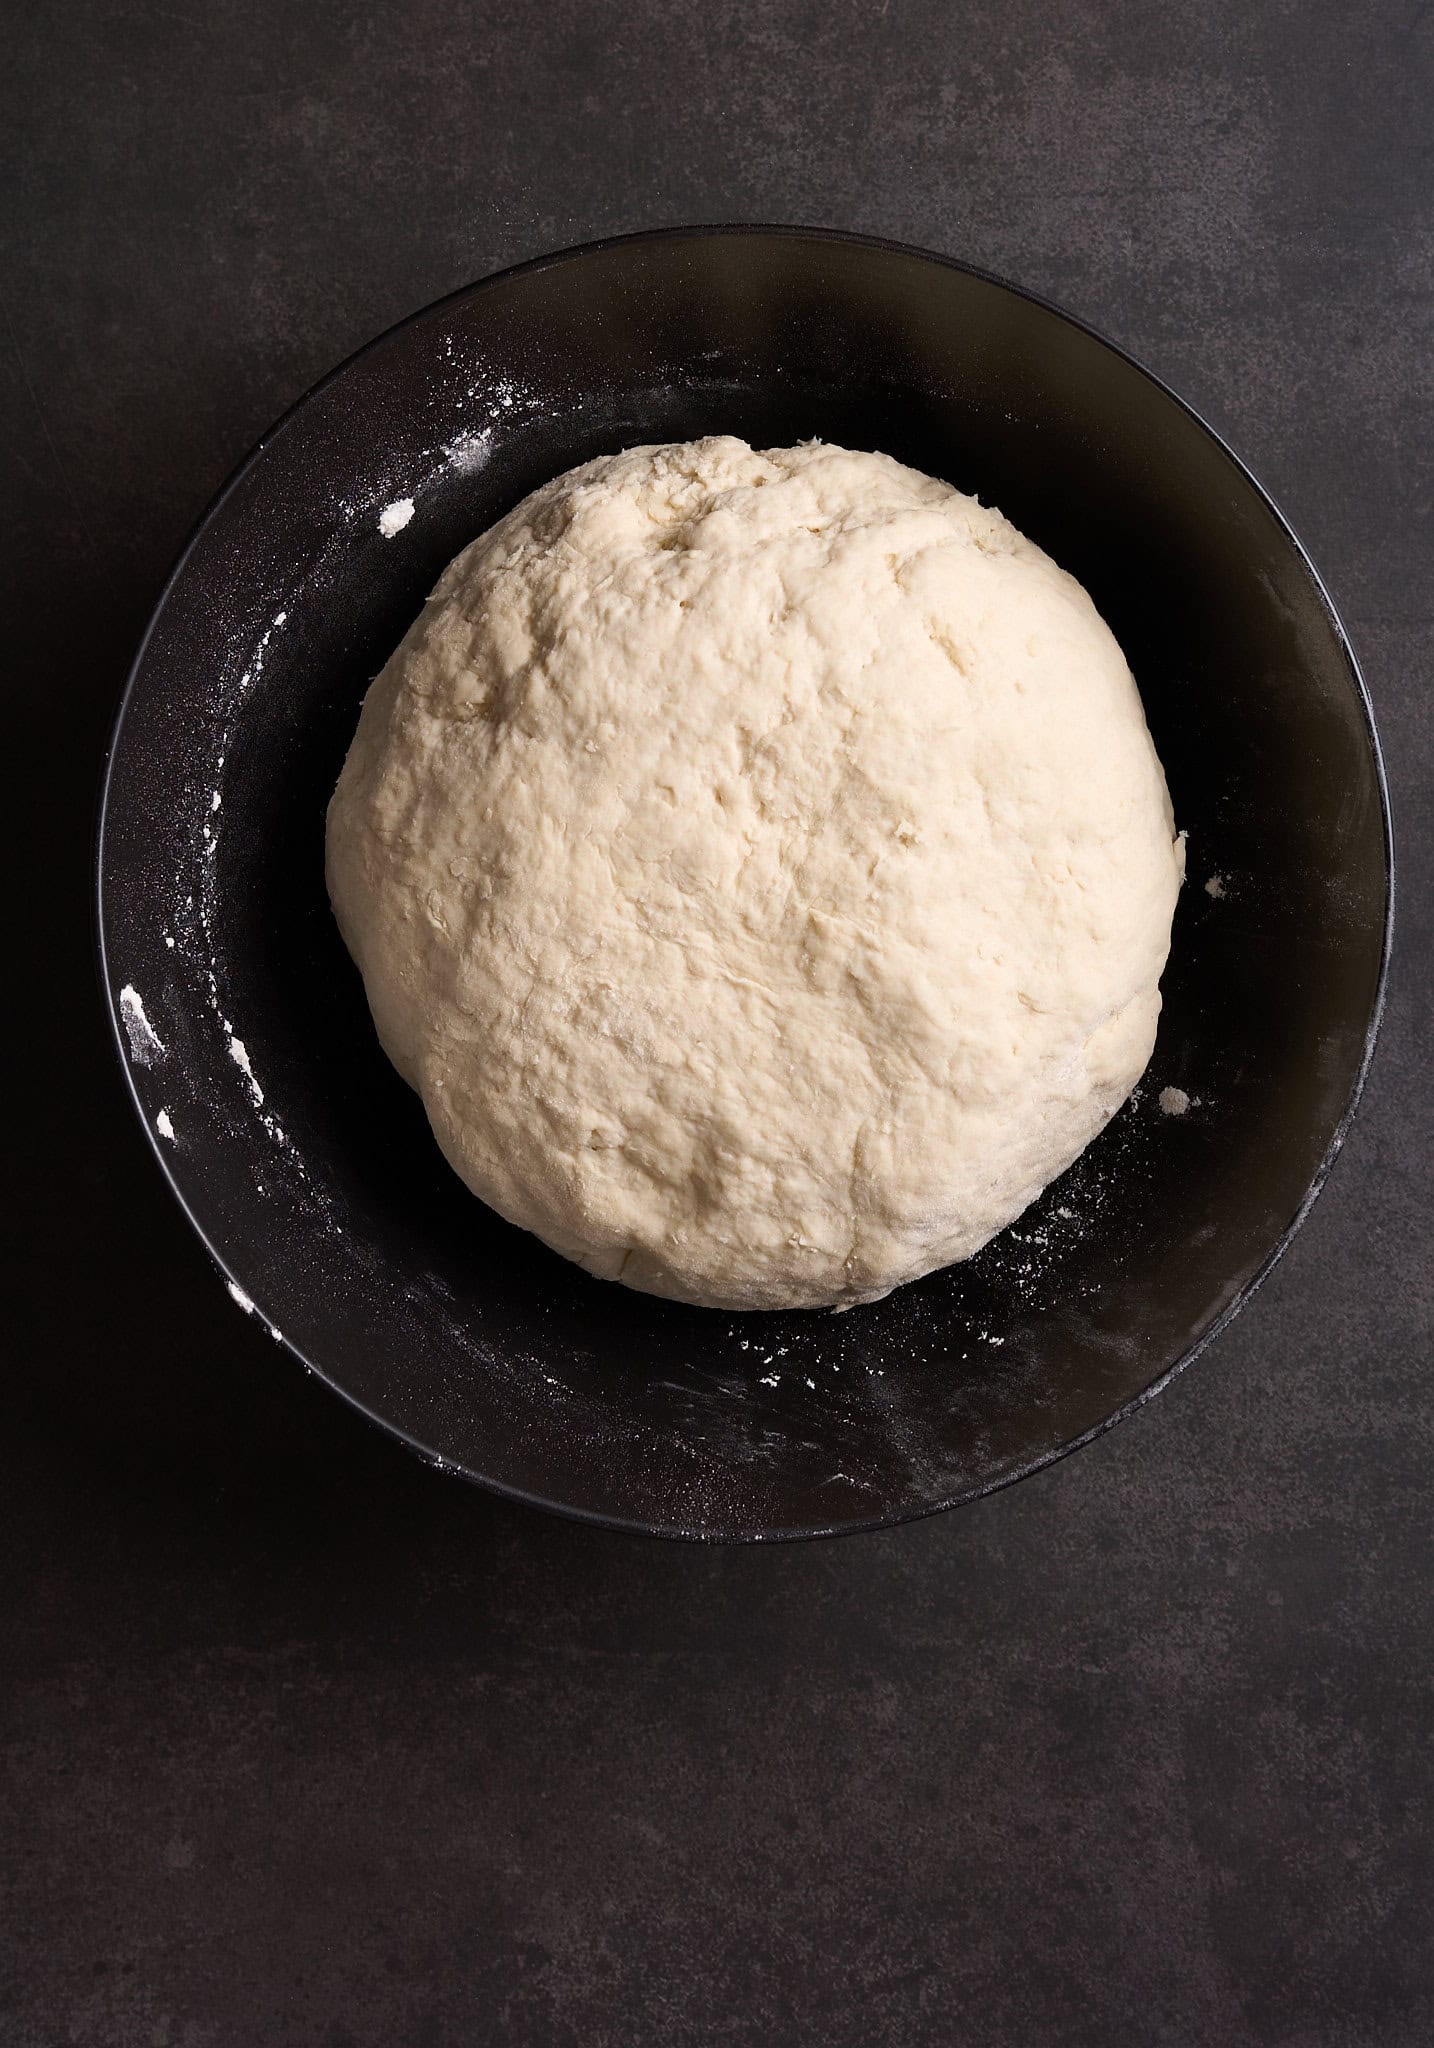
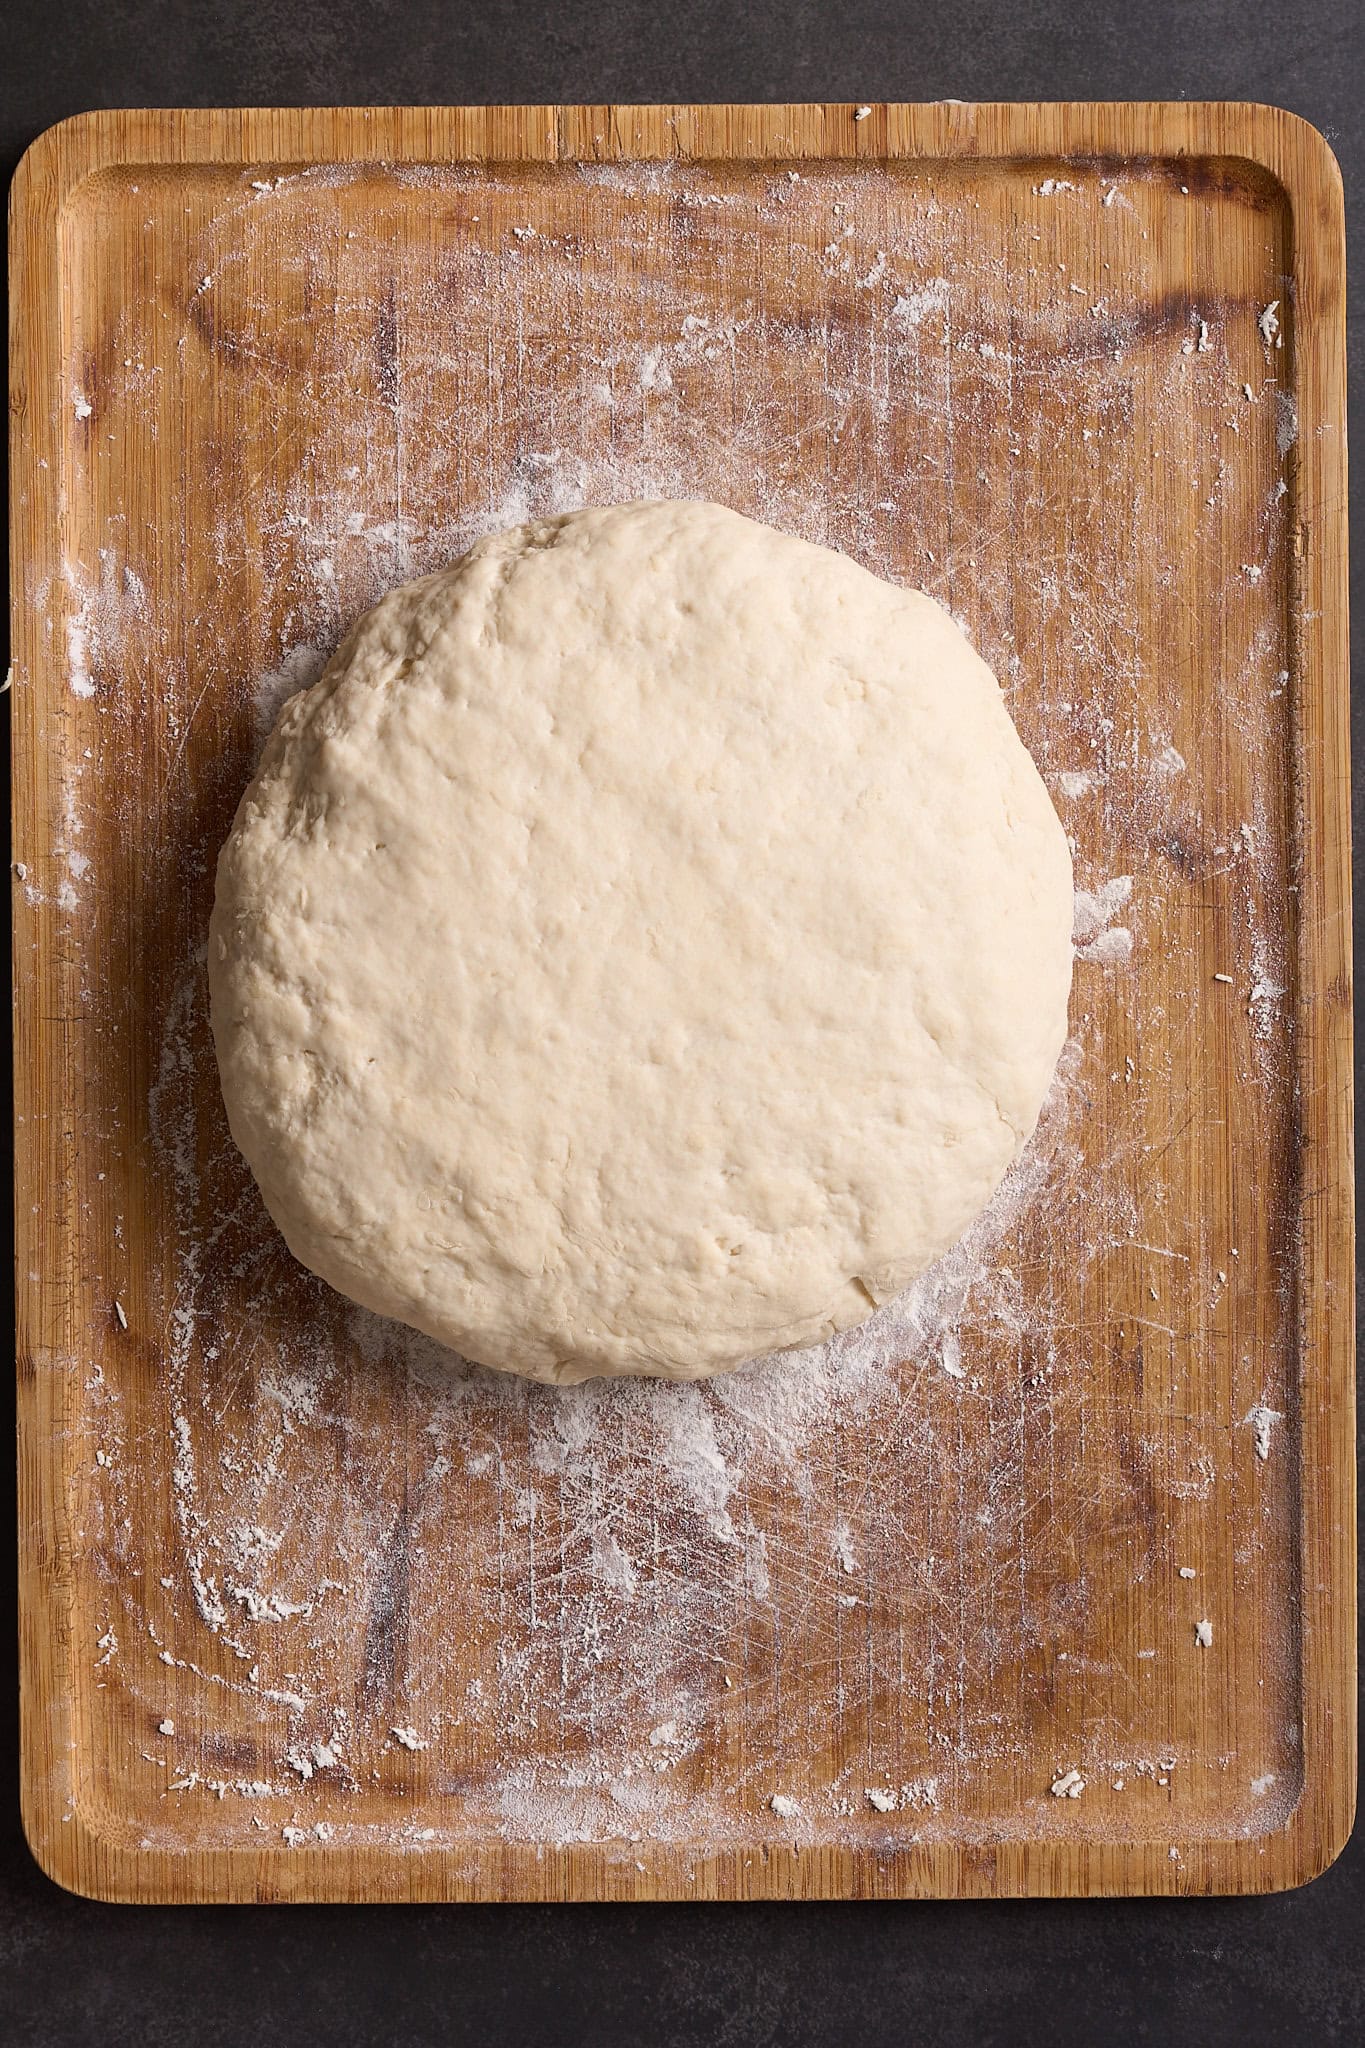
Step 4 - Transfer the dough to a lightly floured surface and get your hands dirty!
Knead gently for about 3 to 4 minutes until it smooths out. The dough should feel tacky but not sticky enough to coat your fingers.
If the dough is too sticky, sprinkle a little more flour, about a tablespoon at a time.
If it's too dry, add a teaspoon of yogurt.
Make sure to not over knead the dough. Overworking can lead to dense, tough bagels.
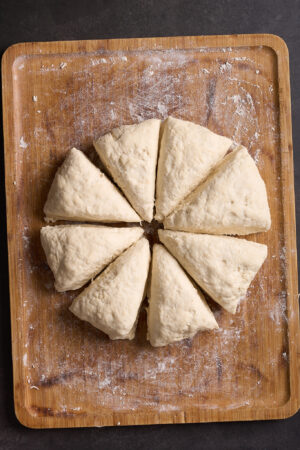
Step 5 - Divide the dough into 8 equal portions.
Here is how I do it:
I start by shaping the dough into a round form, like a pizza.
Lightly score it with a knife to mark 8 equal sections.
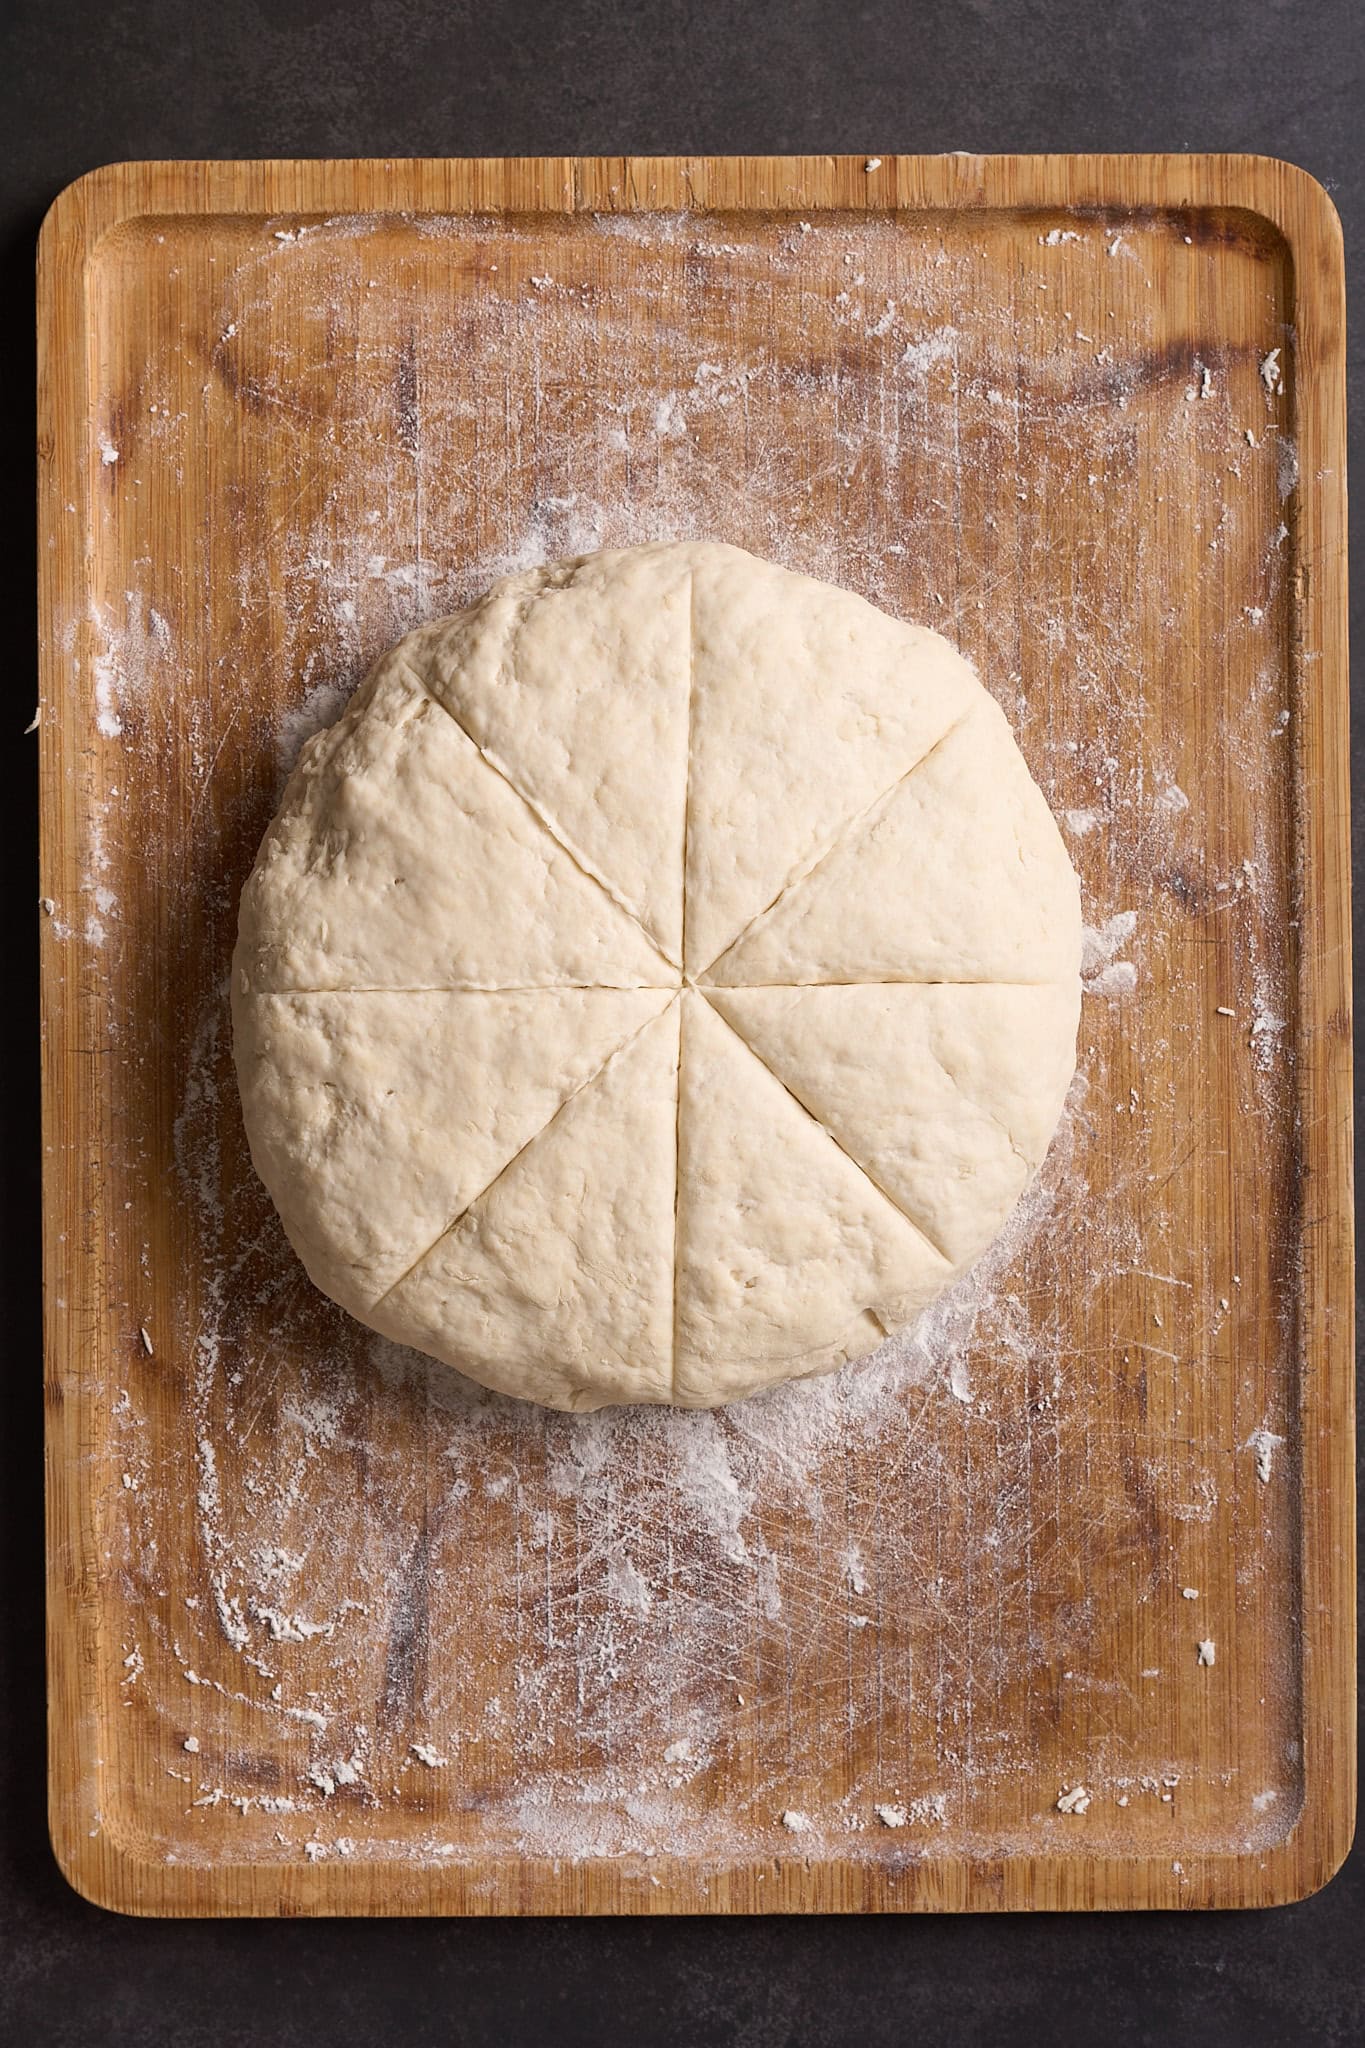
Once marked, I cut through the dough just as I would when slicing a pizza.

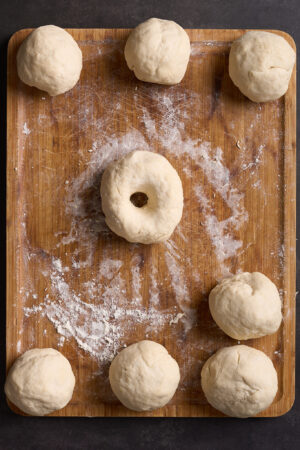
Reshape each portion and roll them into balls.
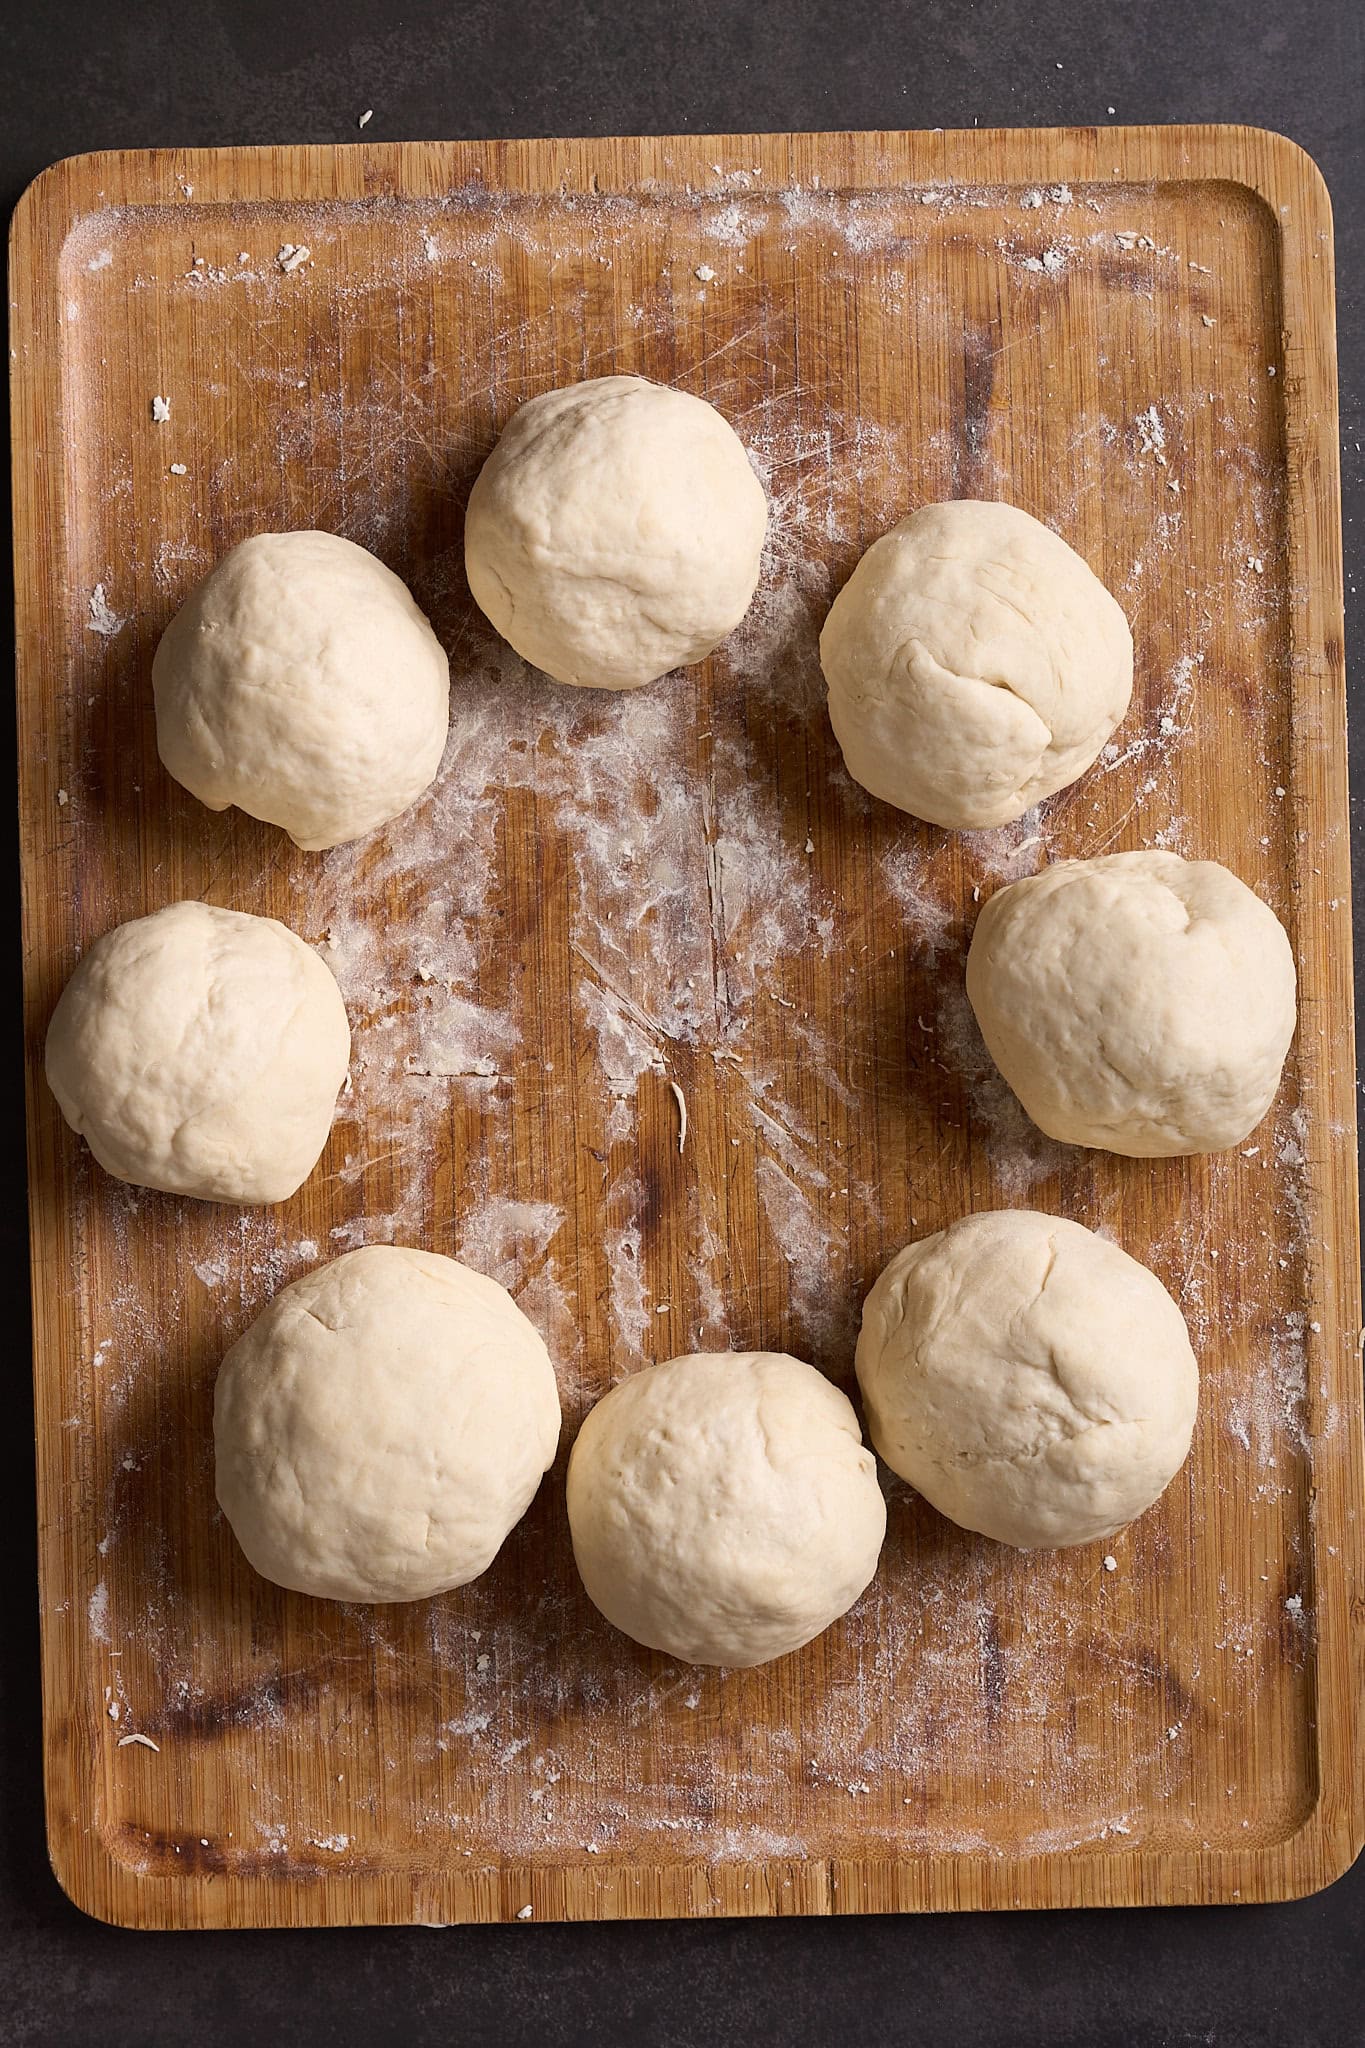
You can also use a kitchen scale to get them perfectly even (if you’re that person), but eyeballing works too!
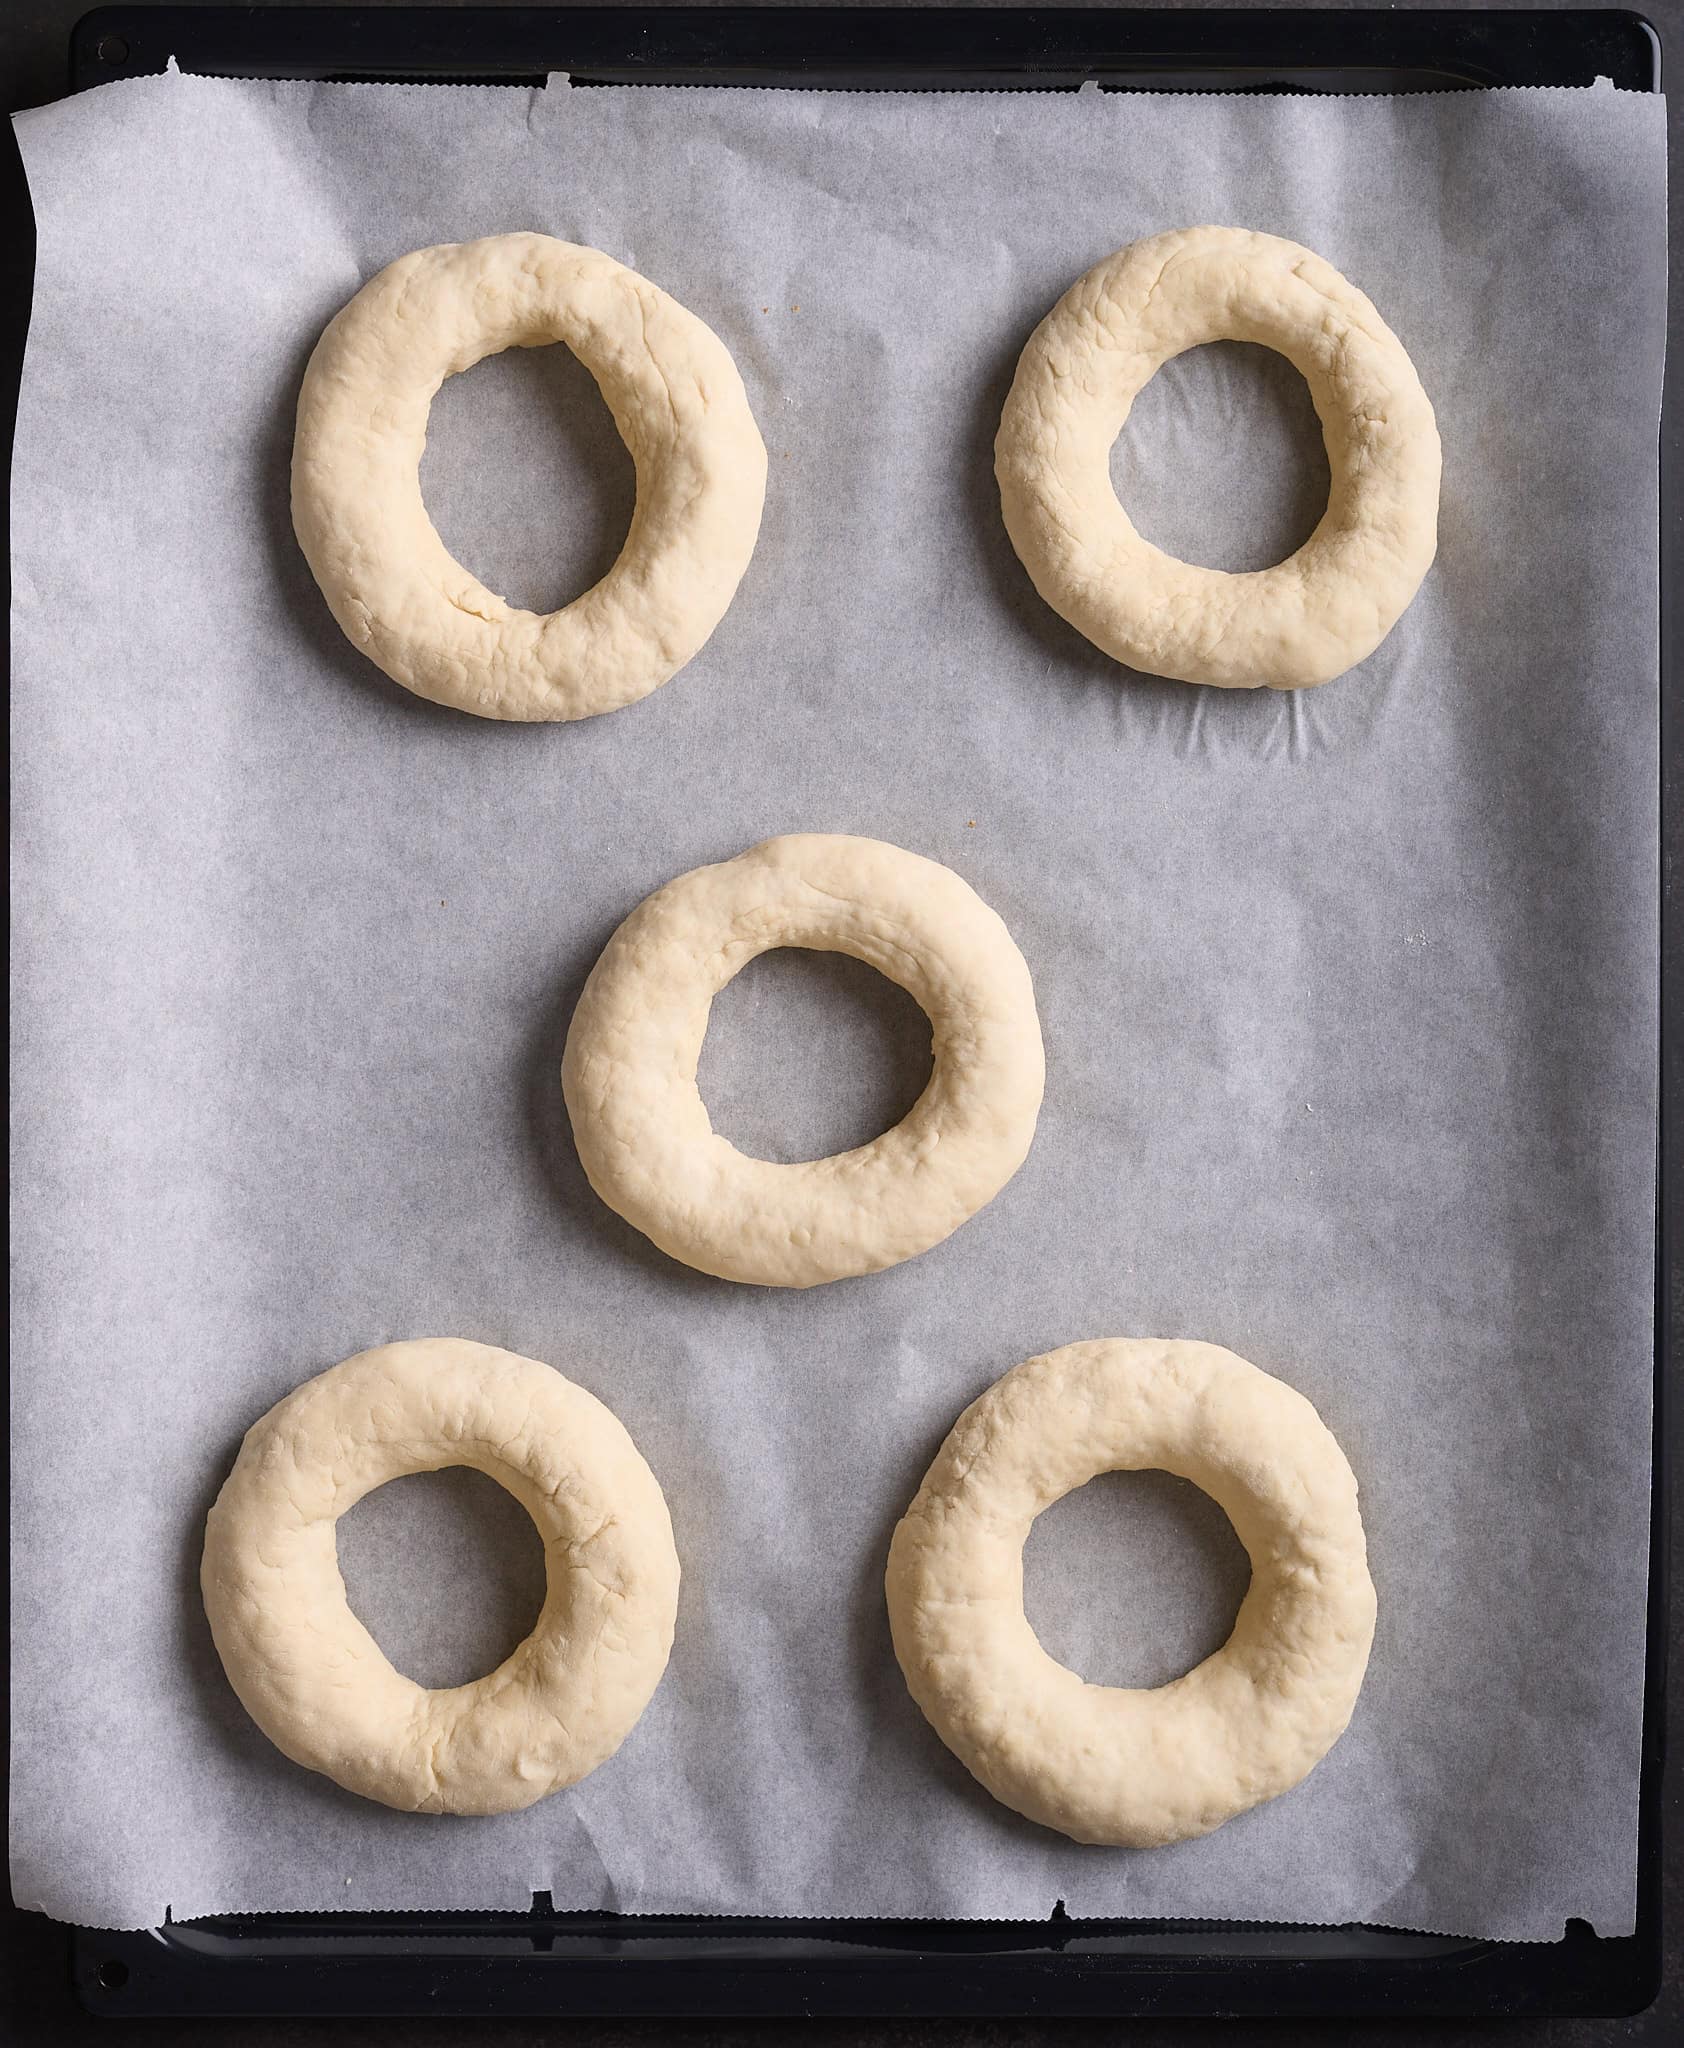
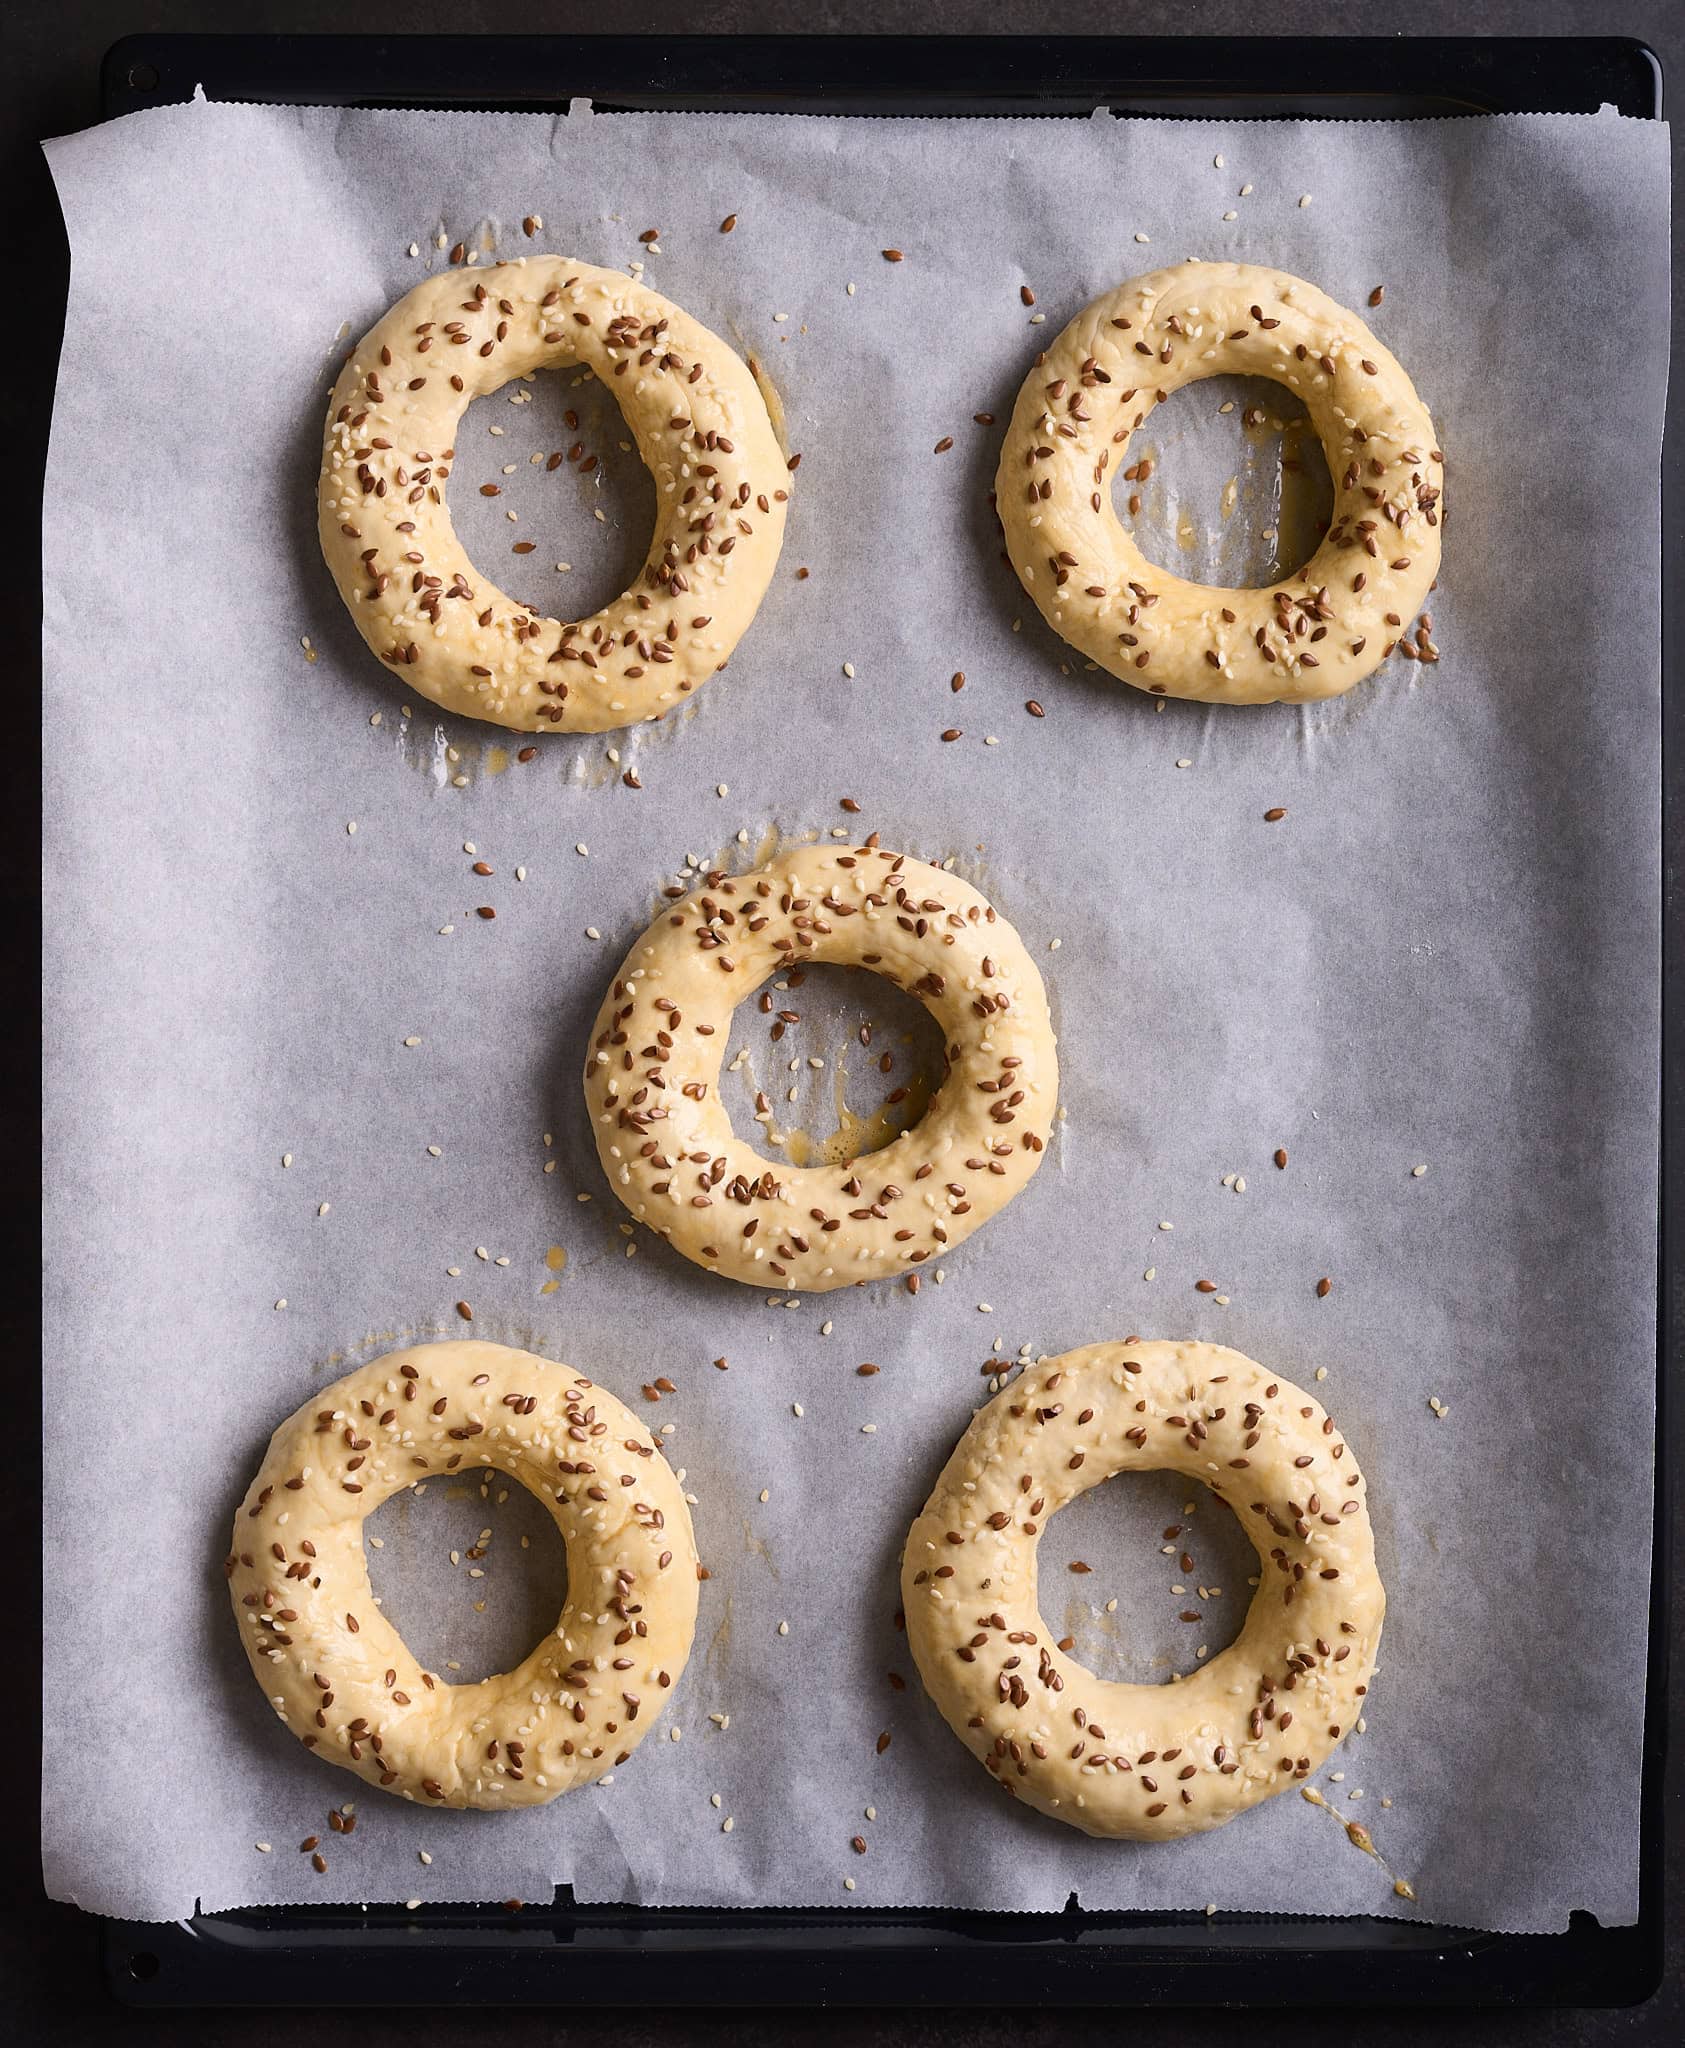
Roll each portion into a ball, then use your thumb to poke a hole in the center. Gently stretch the hole to about 1-1.5 inches wide (it will shrink during baking).

Place the shaped dough on a parchment-lined baking sheet.
Step 6 - Beat an egg in a small bowl and brush your bagels. This is what gives them that bakery-worthy shine.
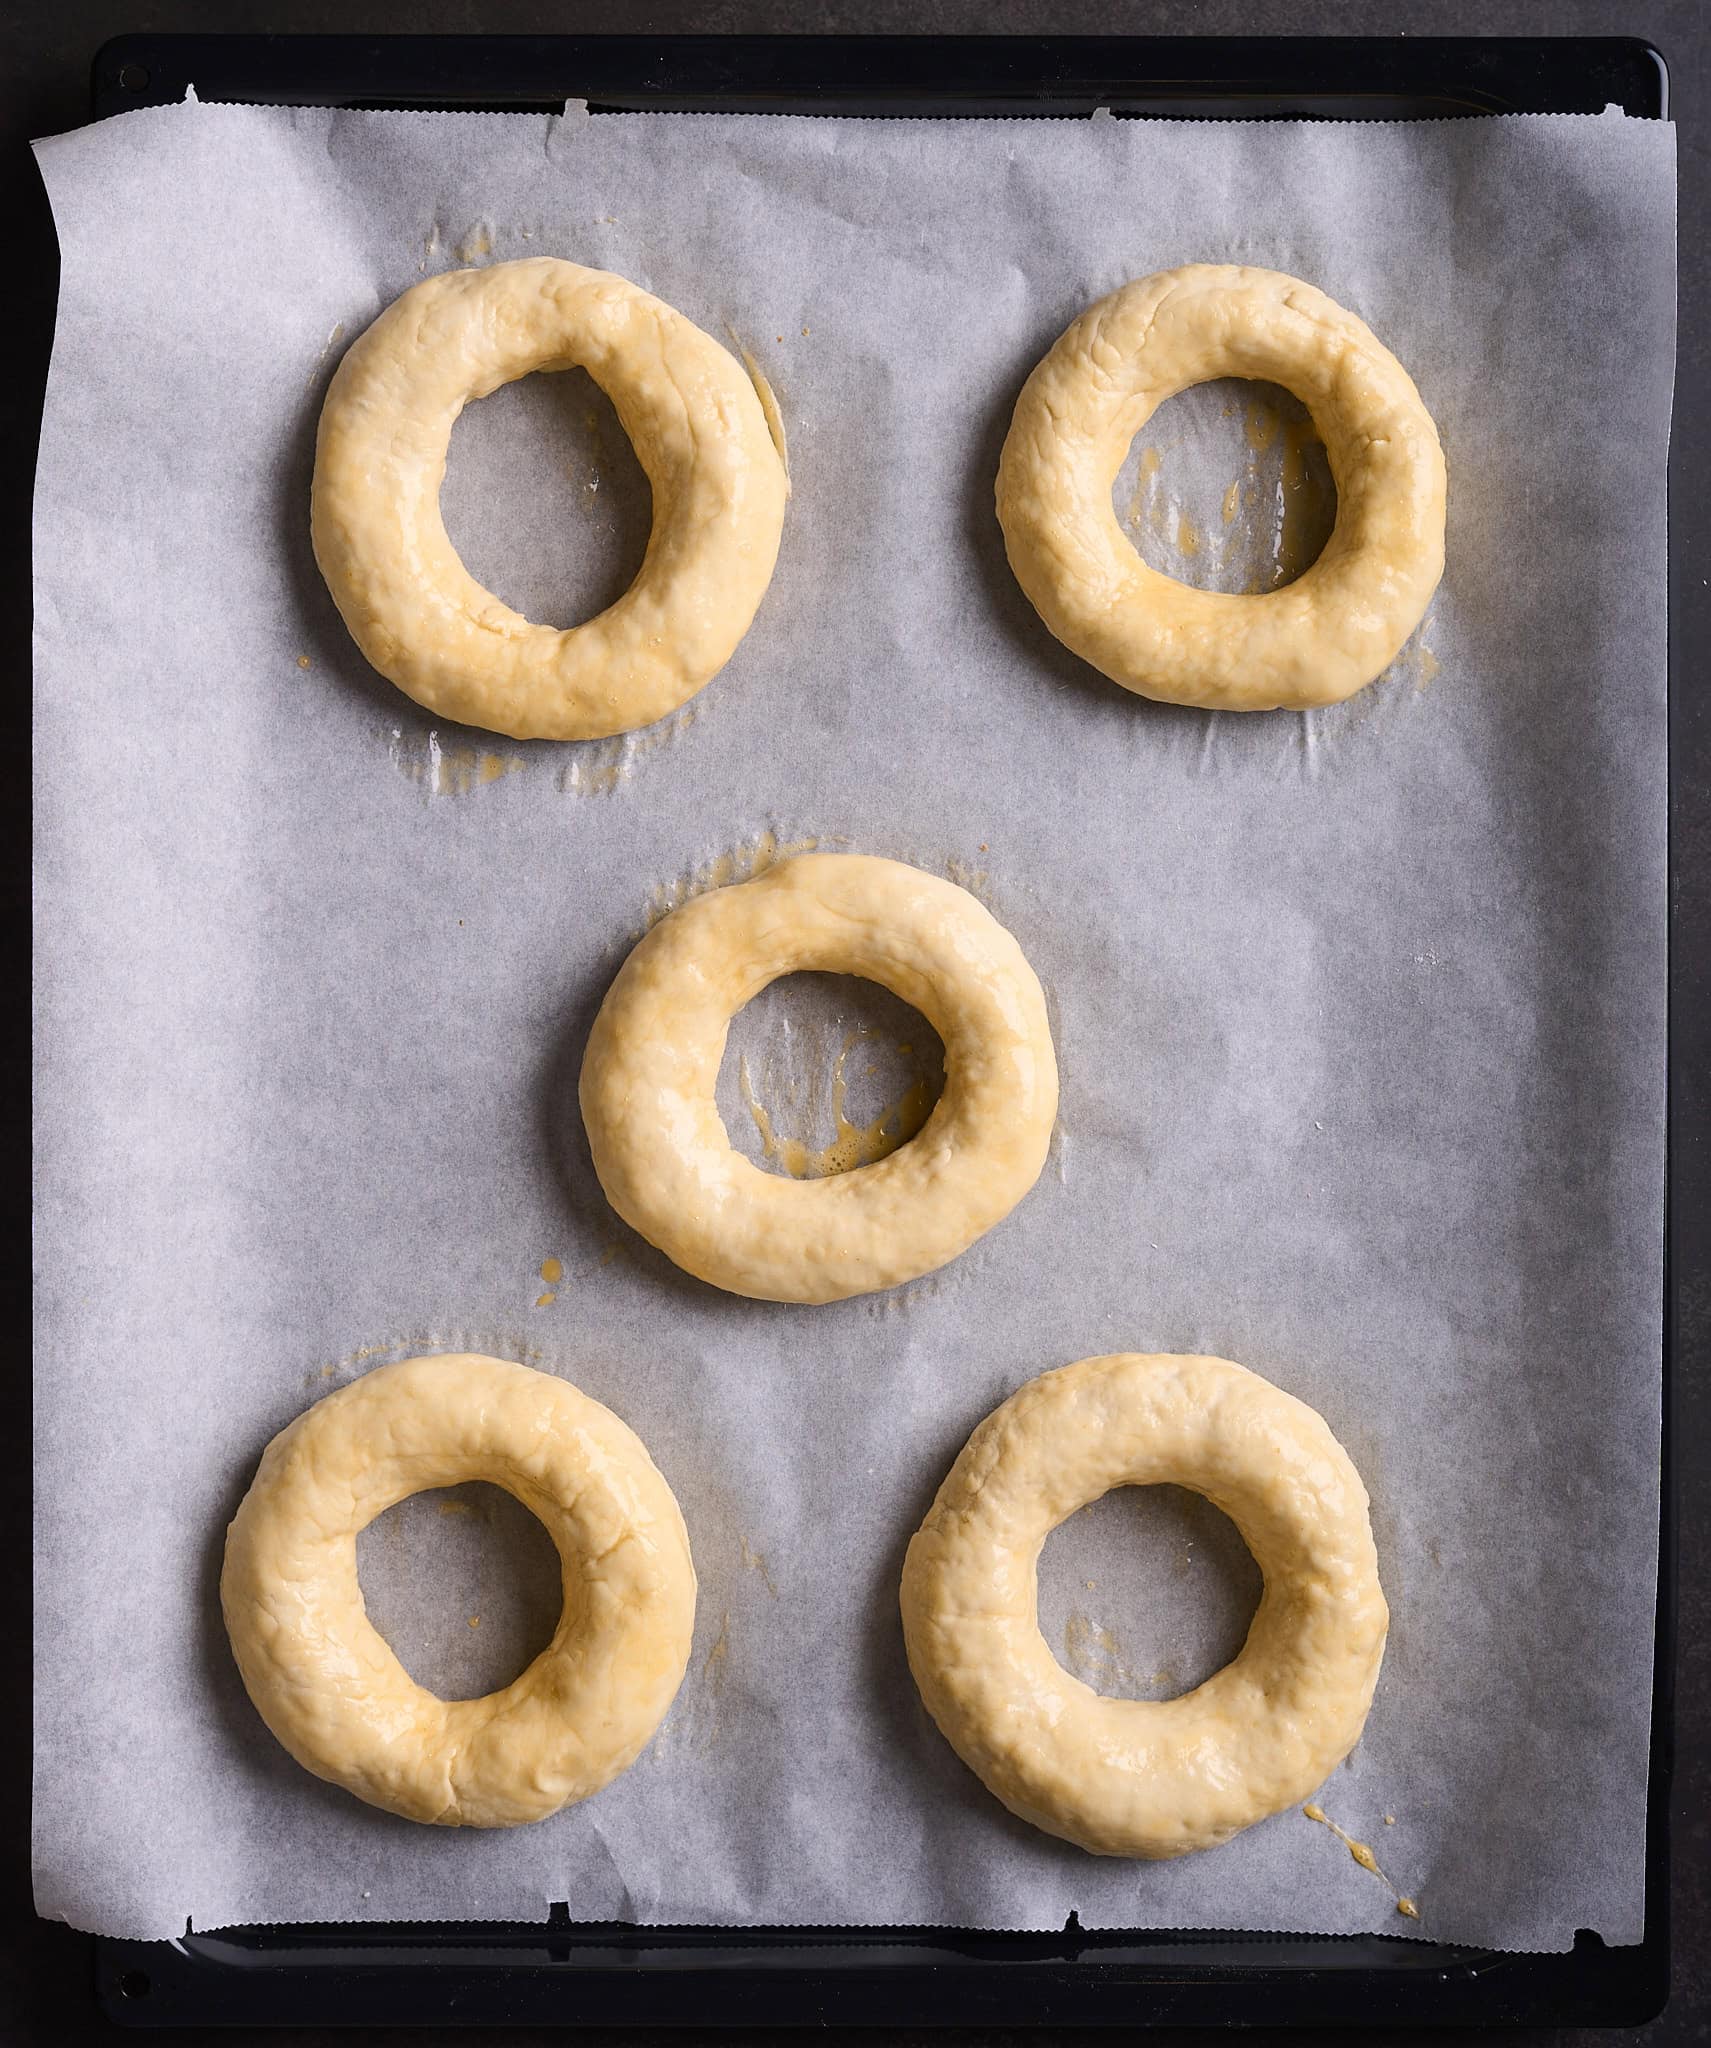
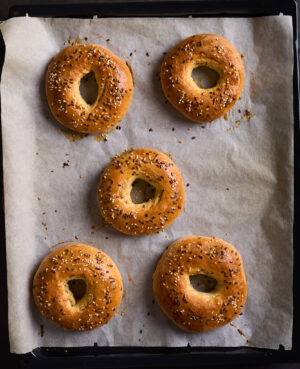
Step 7 - Sprinkle on your toppings! I use sesame seeds and organic brown flax seeds.
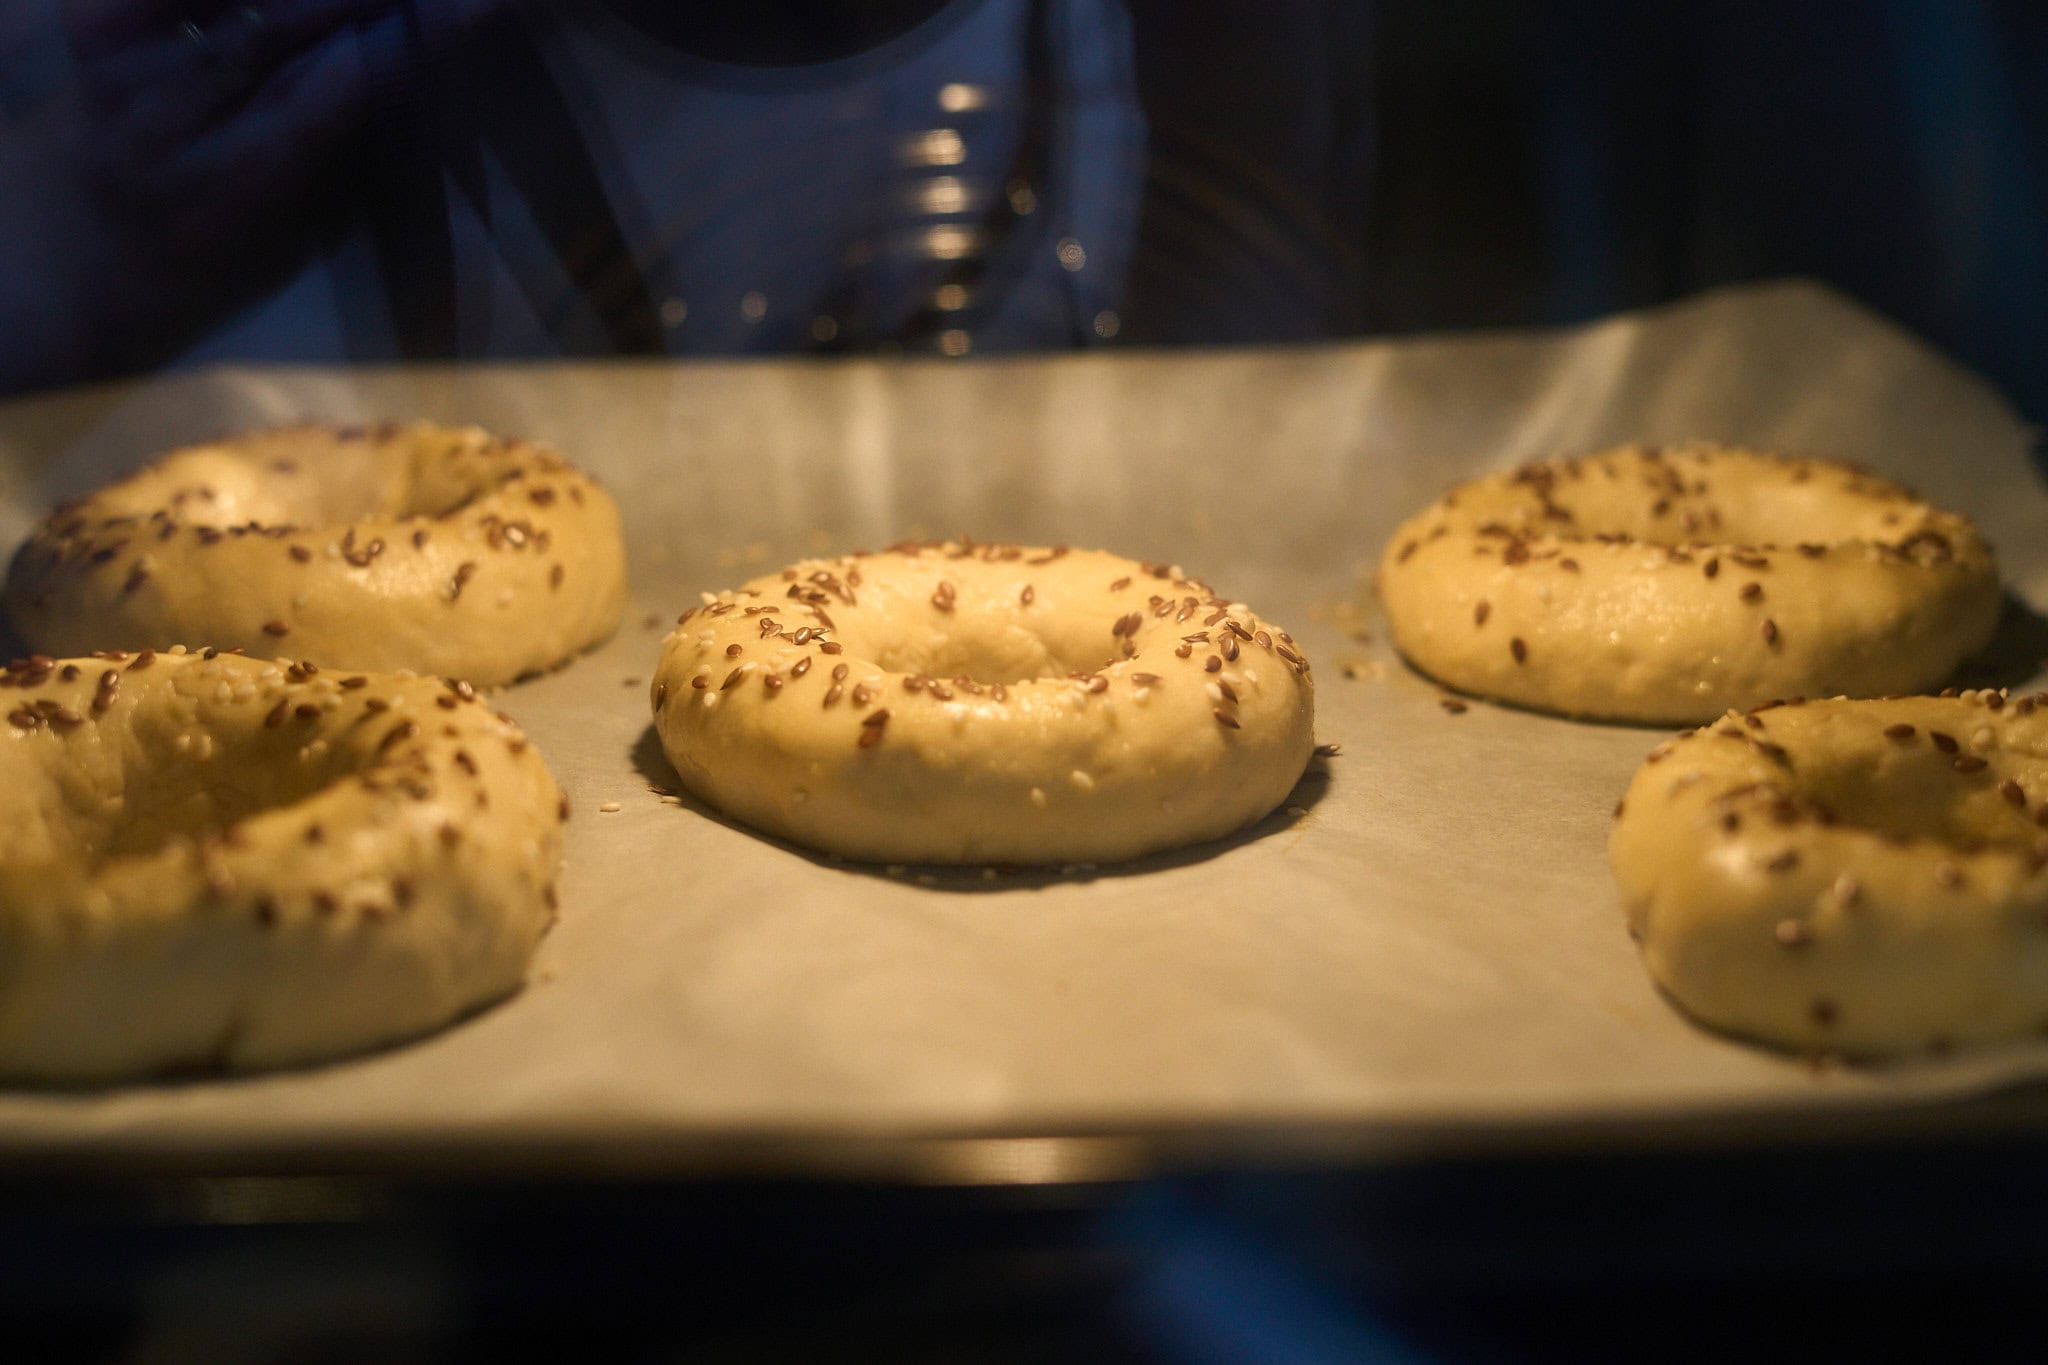
Step 8 - Bake for 22-25 minutes, or until they turn golden brown. You'll know they're done when they sound hollow when tapped on the bottom.
My dog starts hanging around the kitchen at minute 15 because he knows what's coming.
If you want a darker crust, broil for 1 to 2 minutes at the end (watch them carefully so they don’t burn!).
Given that most ovens heat differently, start checking around the 18 minute mark to prevent overbaking.

Step 9 - The hardest part: waiting 10 minutes before cutting into them. I know it's hard to wait, but cutting them too soon can make them gummy inside!
I usually distract myself by making another pot of coffee and deciding which topping I'm going to use first.
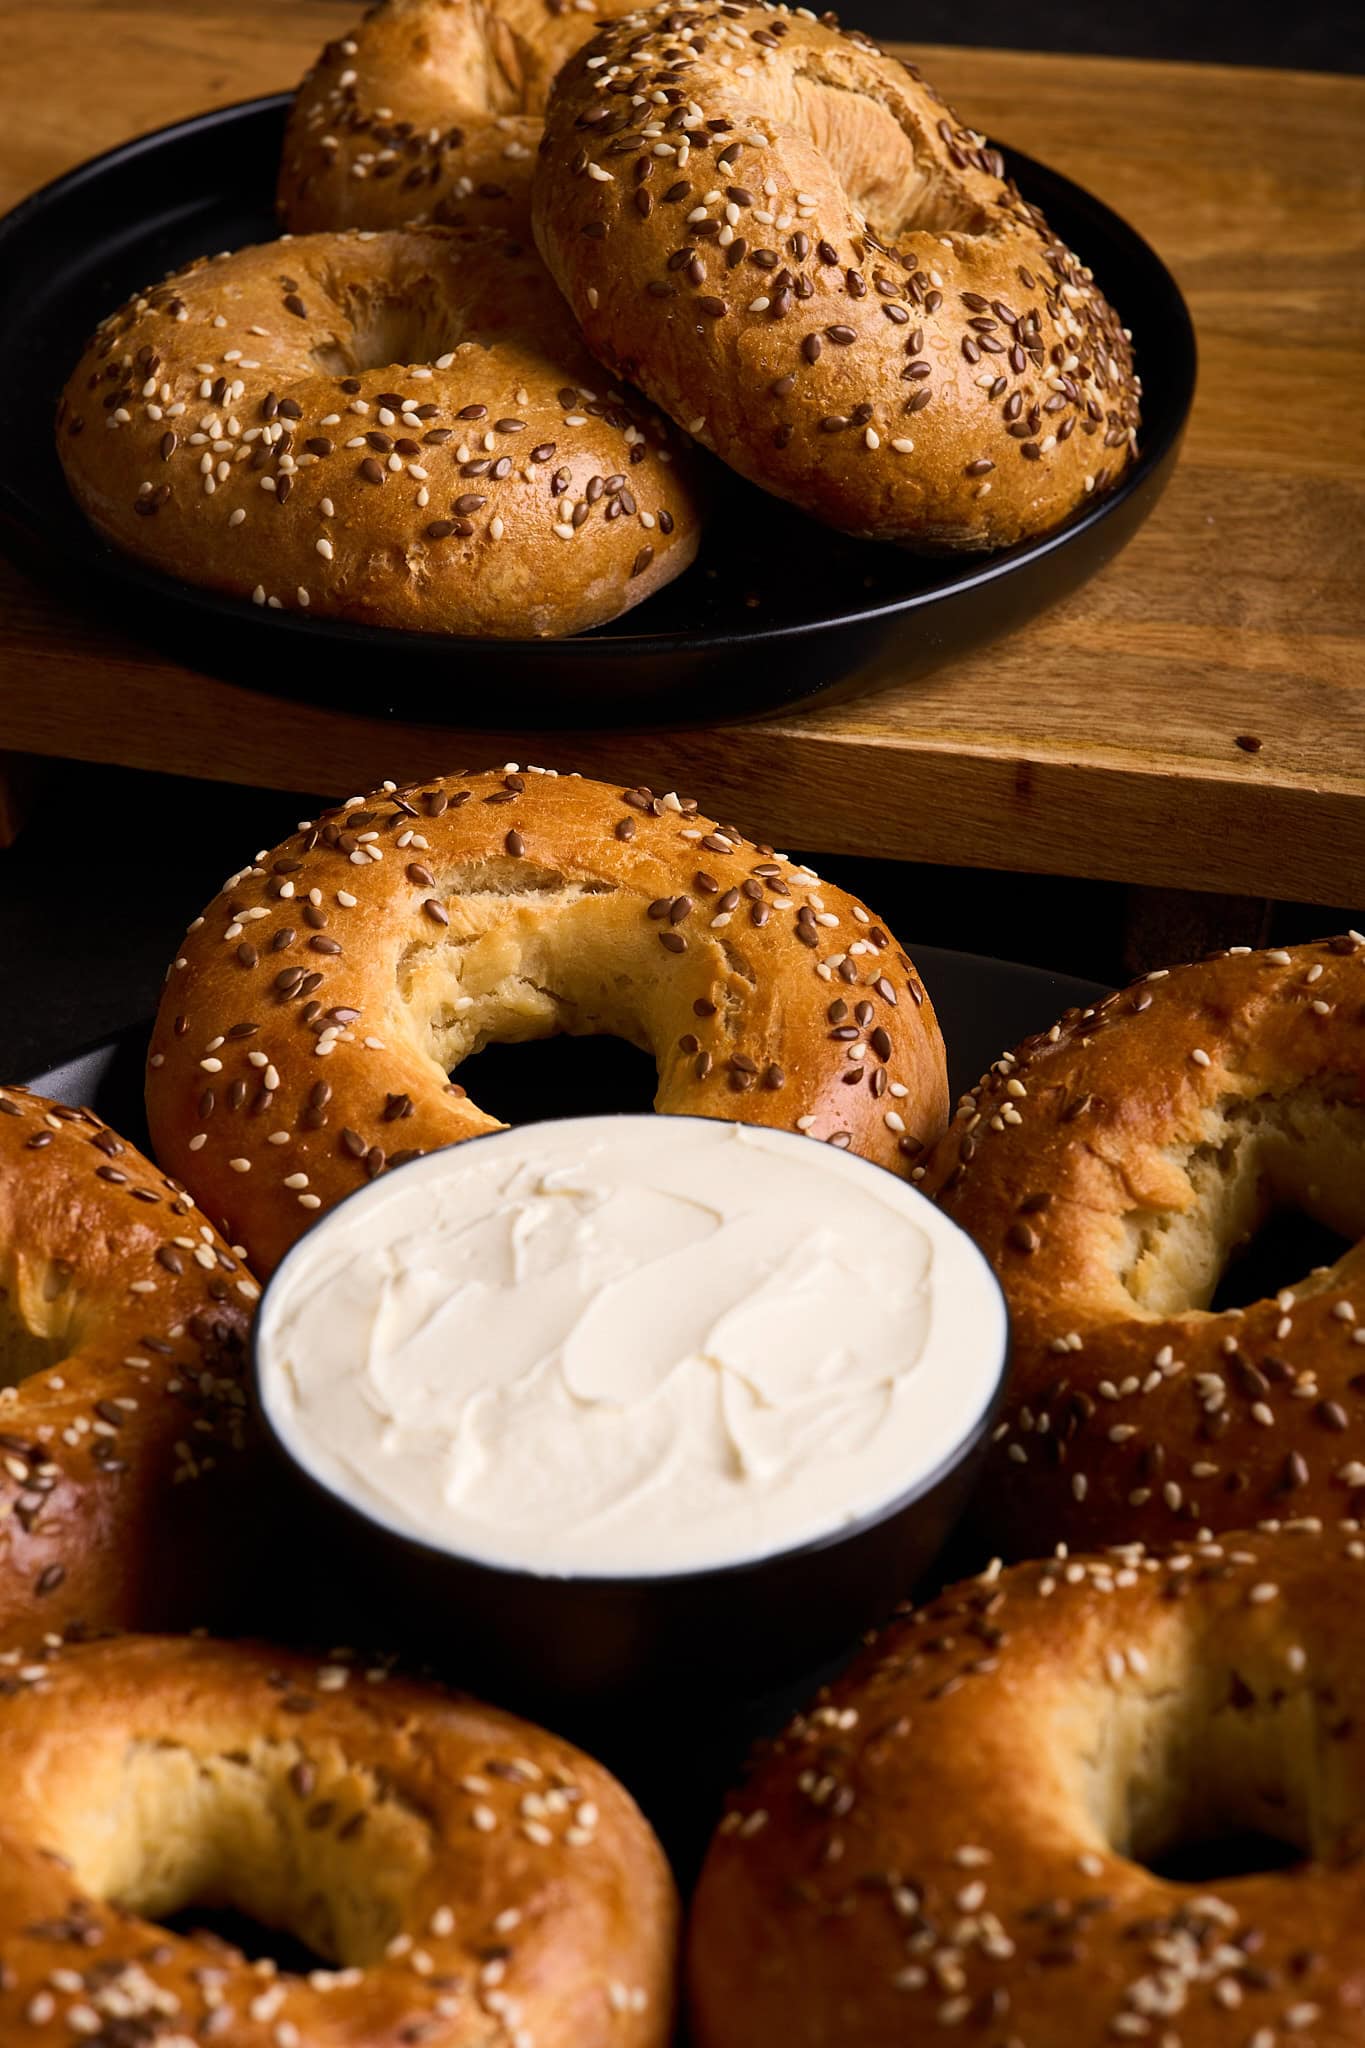
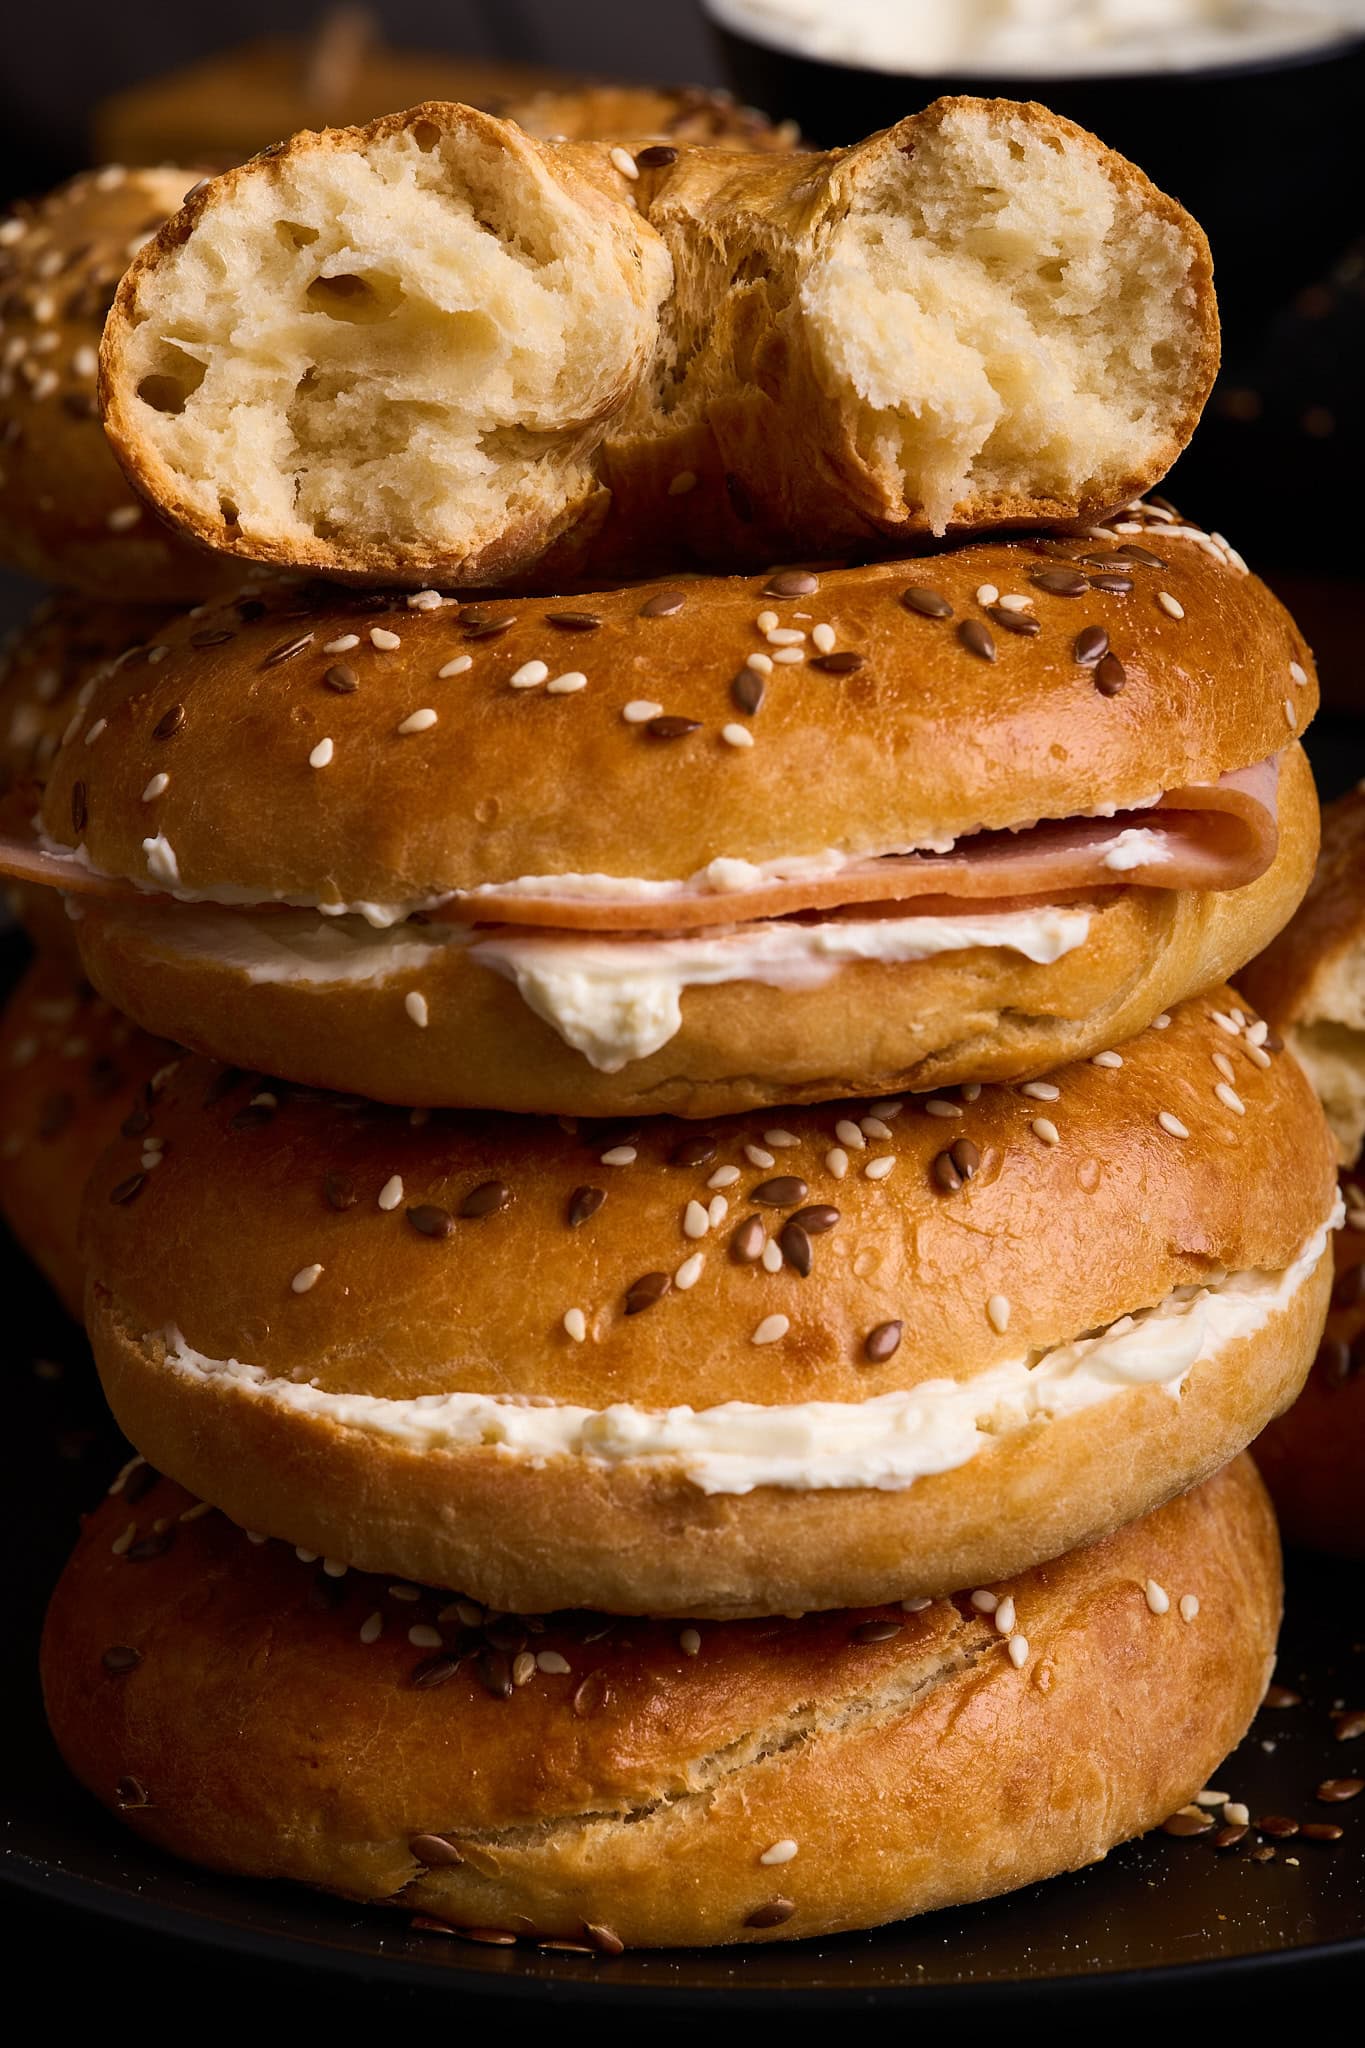
Step 10 - Slice, toast if you want (I go back and forth on this), and top with something delicious (cream cheese, I am looking at you)!
Air Fryer Method
Got an air fryer? You can have fresh bagels even FASTER.
Step 1 - Prep the bagels as directed above.
Step 2 - Set the air fryer to 350°F and let it preheat for a few minutes.
Step 3 - Depending on the size of your air fryer, place 2-3 bagels in the basket at a time.

Leave space between them so air can circulate (don’t overcrowd).
Step 4 - Cook at 350°F for about 10 to 14 minutes, or until the bagels are nicely golden brown on top.
Check them around the 8–10 minute mark to make sure they’re not over-browning. If they’re getting too dark, you can drop the temperature to 330–340°F or reduce the remaining cook time.
The air fryer gives them an even crispier exterior while keeping the inside perfectly chewy!

Make Ahead
Option 1: Refrigerate the dough (up to 2 days)
I do this all the time when I want fresh bagels for Sunday brunch but don't want to wake up early!
- Make the dough as directed and complete the kneading step.
- Wrap tightly in plastic wrap or place in an airtight container.
- Refrigerate for up to 48 hours.
- When ready to bake, let it sit at room temperature for about 30 minutes (it'll be easier to work with) before shaping into bagels.
- Continue with the recipe as written (Shape, top, and bake as usual)
Option 2: Freeze the shaped raw bagels (up to 1 month)
- Make the dough and shape into bagels.
- Place shaped bagels on a parchment-lined baking sheet and freeze until solid (about 2 hours).Make sure they don’t touch each other.
- Transfer the frozen bagels to a freezer bag or airtight container.
- When ready to bake, place frozen bagels on a parchment-lined baking sheet.
- Let thaw in the refrigerator overnight or at room temperature for 1-2 hours.
- Brush with egg wash, add toppings, and bake as directed (may need 2-3 extra minutes if still cold).
Option 3: Partially Bake & Freeze (up to 1 month)
- Bake the bagels for about half the regular bake time, 10 minutes instead of 20, just until they’re set but not fully browned.
- Let them cool completely, then freeze in an airtight container or freezer bag for up to 1 month.
- When Ready to Eat: Move them from the freezer to the oven at 375°F (190°C) for the remaining 10 to 12 minutes, or until they’re golden brown and heated through.
This method is perfect for having near-instant fresh bagels; they’ll finish crisping and browning right before serving.
Storage
Counter Storage (2 days)
Let's be real - they rarely last this long in my house!
- Cool completely (this is important to prevent sogginess)
- Store in a paper bag first day for crustier exterior
- Move to airtight container second day to prevent drying out
Refrigerator (5-7 days)
Perfect for weekly meal prep:
- Cool completely
- Store in airtight container
- A quick toast refreshes them perfectly
Freezer (up to 3 months) My favorite method for always having bagels on hand:
- Cool completely
- Slice before freezing (game-changer for quick toasting!)
- I wrap individually in plastic, then place in freezer bag
- Toast directly from frozen (no need to thaw first)
Reheating
The microwave is NOT your friend here!
Instead:
Oven Method (Best for Texture):
- Preheat oven to 350°F
- For whole bagels: Sprinkle or lightly brush with water (this creates steam and revives the crust)
- Wrap loosely in foil (or place directly on rack for crispier results)
- Heat for 5-7 minutes if room temperature, 8-10 minutes if refrigerated
- Wrap loosely in foil (or place directly on rack for crispier results)
- For frozen whole bagels: Thaw at room temperature first, or microwave for 20-30 seconds before oven heating.
My personal hack: After toasting, run under the broiler for 30 seconds for that fresh-baked crispy exterior
Air Fryer (Crispiest Results):
- Place room temperature or thawed bagel halves cut-side up in air fryer
- Air fry at 320°F for 2-3 minutes until warmed through and crispy
- This method gives you the closest texture to freshly baked!
What To Serve With High Protein Greek Yogurt Bagels
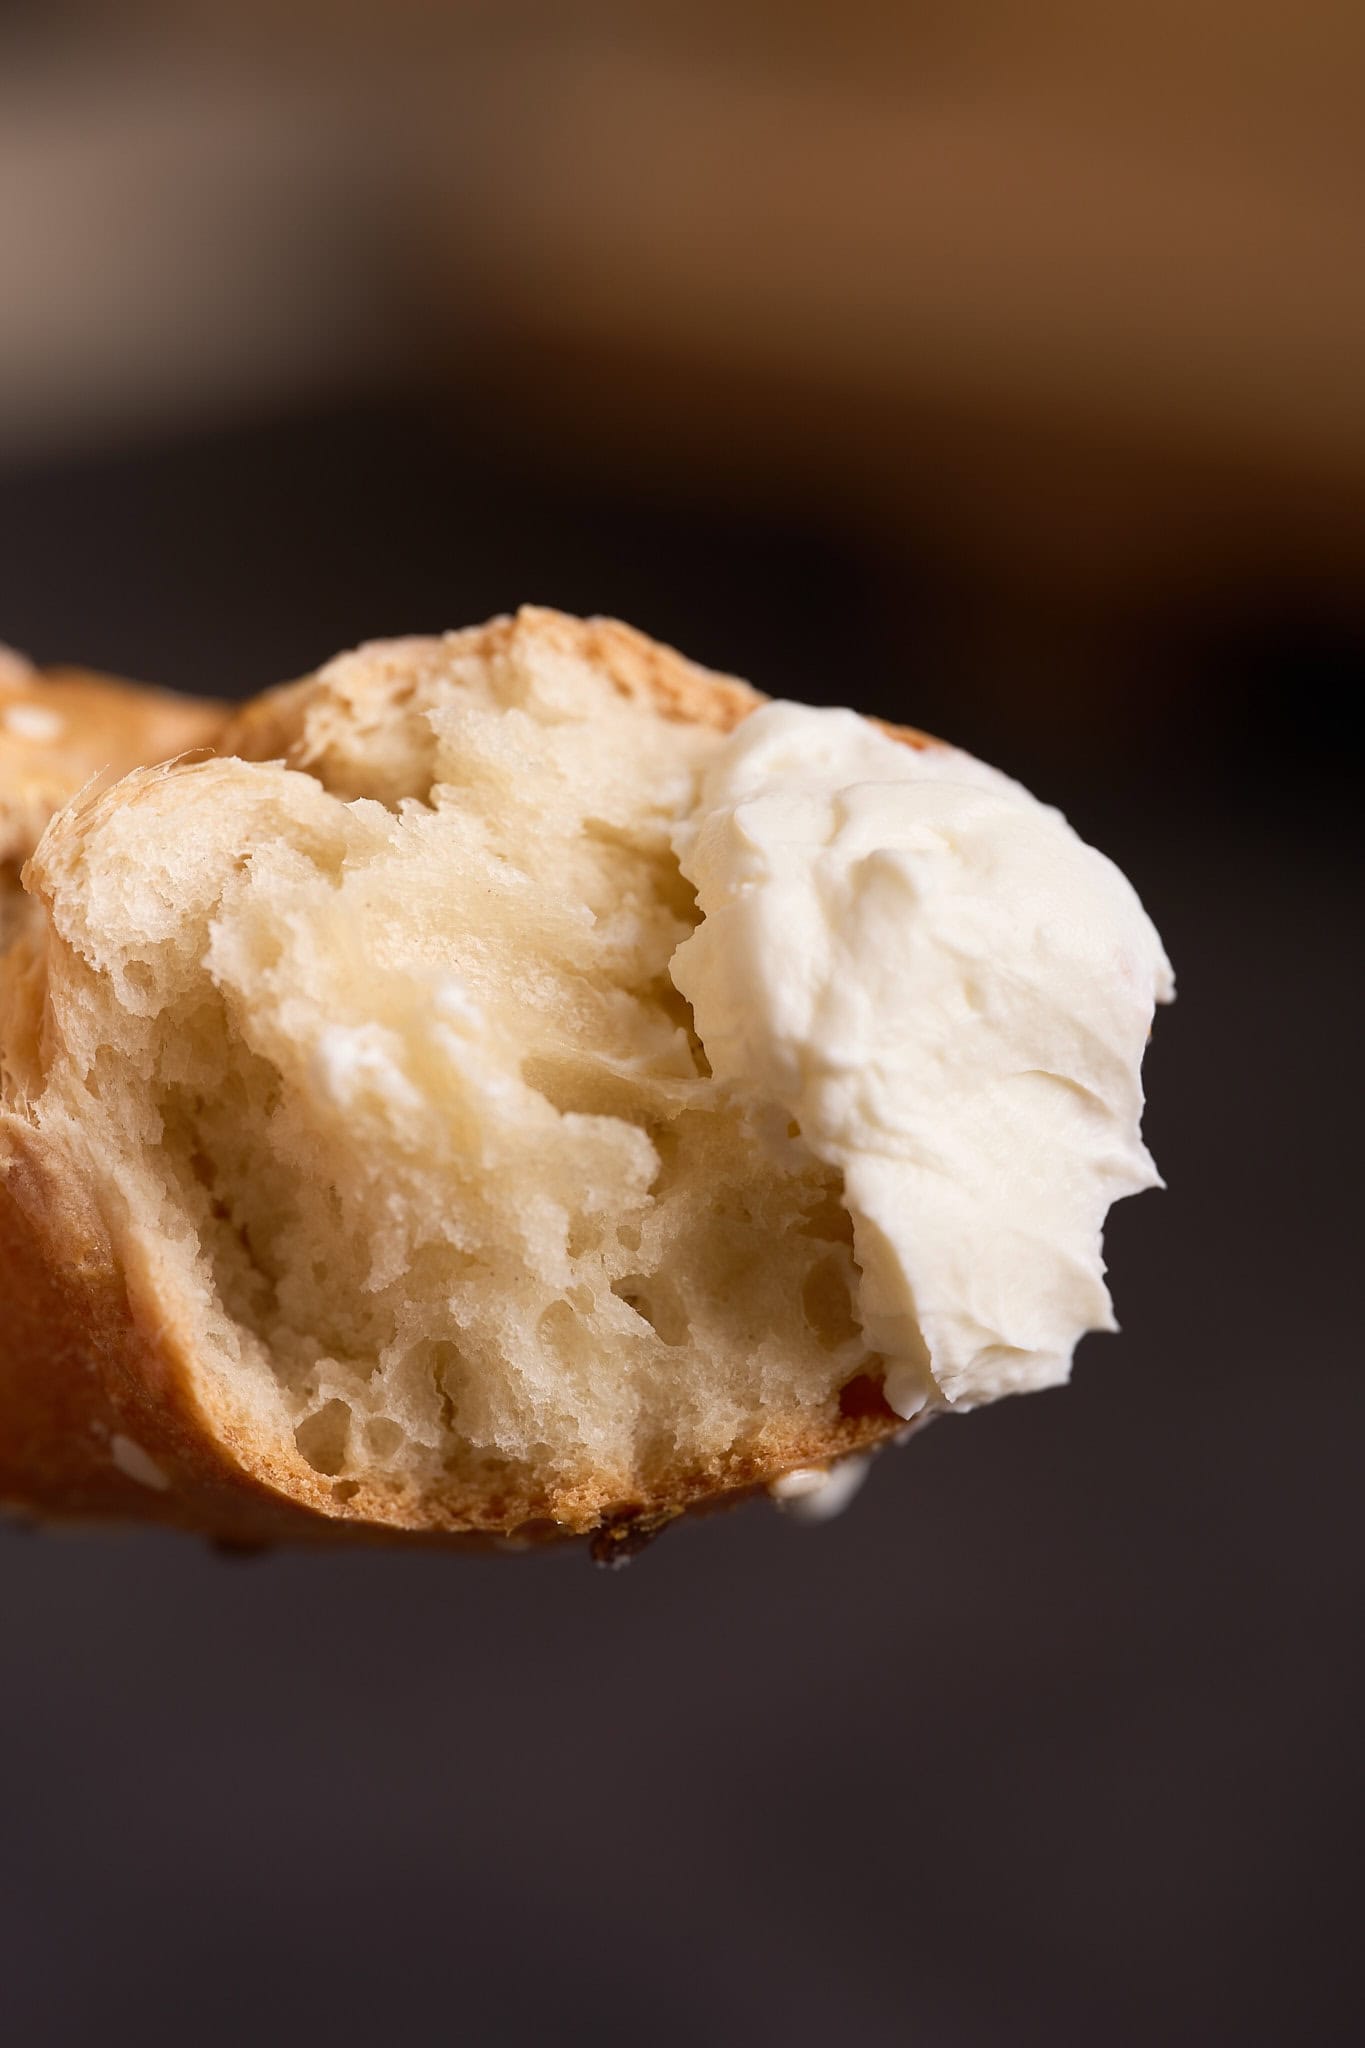
- Toasted with a smear of cream cheese and everything bagel seasoning.
- As a breakfast sandwich with egg whites, turkey bacon, and avocado for a high-protein start to the day.
- Split, toasted, and topped with smashed avocado and red pepper flakes.
- As mini pizzas for the kids' lunchboxes (top with sauce and cheese, broil until bubbly).
Nutrition Boost Ideas
Want to amp up the nutrition even more?
- Swap ½ cup of the regular flour for whole wheat flour
- Add 2 tablespoons of ground flaxseed to the dough
- Mix in 1 scoop of unflavored protein powder with the flour
- Fold in ¼ cup chopped spinach for hidden veggies
F.A.Q
Can I use lower-fat or fat-free yogurt?
You can, but they won't be as tender. If you must go this route, add a tablespoon of olive oil to the dough for better texture.
Mine turned out gummy inside?
Probably underbaked! These need a full 22-25 minutes.
Will gluten-free flour work?
It does! My celiac friend uses a 1:1 GF flour blend plus ¾ teaspoon xanthan gum. She says they're not identical but definitely satisfy the bagel craving.
How do I get them more golden if they look pale?
Simply broil them for 1 to 2 minutes at the end of baking. Keep a close eye to avoid burning!
My bagel holes close up during baking, what can I do?
Make the hole bigger initially. Bagels tend to expand in the oven, naturally shrinking the hole.
📖 Recipe
High Protein Greek Yogurt Bagels
Ingredients
- 4 cups all purpose flour or self rising flour
- 2 teaspoon salt
- 2 cups full-fat Greek yogurt
- 1 egg lightly beaten (for egg wash)
- everything bagel seasoning, sesame seeds, poppy seeds, oats
If not using self rising flour:
- 2 tablespoon baking powder
Instructions
- Preheat the oven to 375°F. Line a baking sheet with parchment paper.
- In a medium mixing bowl, whisk together the flour, baking powder, and salt. (Skip baking powder if you’re using self rising flour.)

- Make a well in the center of the dry ingredients and the yogourt.

- Mix until a shaggy dough forms.

- Turn dough onto a lightly floured surface and knead for 3 to 4 minutes until smooth and elastic.

- Divide the dough into 8 equal portions.

- Roll each piece into a ball.
- Use your thumb to poke a hole in the center of each ball, then gently stretch to form a bagel shape with a 1-1.5 inch hole.
- Place bagels on the prepared baking sheet. Brush tops with beaten egg white and sprinkle with your desired toppings.

- Bake for 20-25 minutes until golden brown and hollow-sounding when tapped on the bottom.

- Cool on a wire rack for at least 10 minutes before slicing.


Comments
No Comments